
Reupholstering a Retro Armchair DIY
12 May 2018A few months back we moved into a new place. Everything was new and crisp, with white walls and white stained wood flooring. To add some character to the place we decided to decorate with fairly colorful furniture. The first thing we bought for the living room was a blue couch. We then wanted a simple armchair of sorts to complement the couch. Not long after, the chair had to be yellow and have velour chair cushions. And, used furniture are pretty popular nowadays. So yep, a simple retro yellow armchair. How hard can that be to find…
Turns out, pretty hard. Yellow velour fabric on retro armchairs are not that common, actually. The idea of doing some DIY upholstery had been brewing in my mind for some time, and this seemed to be the perfect opportunity.
In all, the project took around a week. Most evenings on work days and the weekend were spent working on the chair.
Materials and Tools
| Item | Quantity | Cost |
|---|---|---|
| Used armchair | 1 | $86 |
| Staple gun | 1 | $11 |
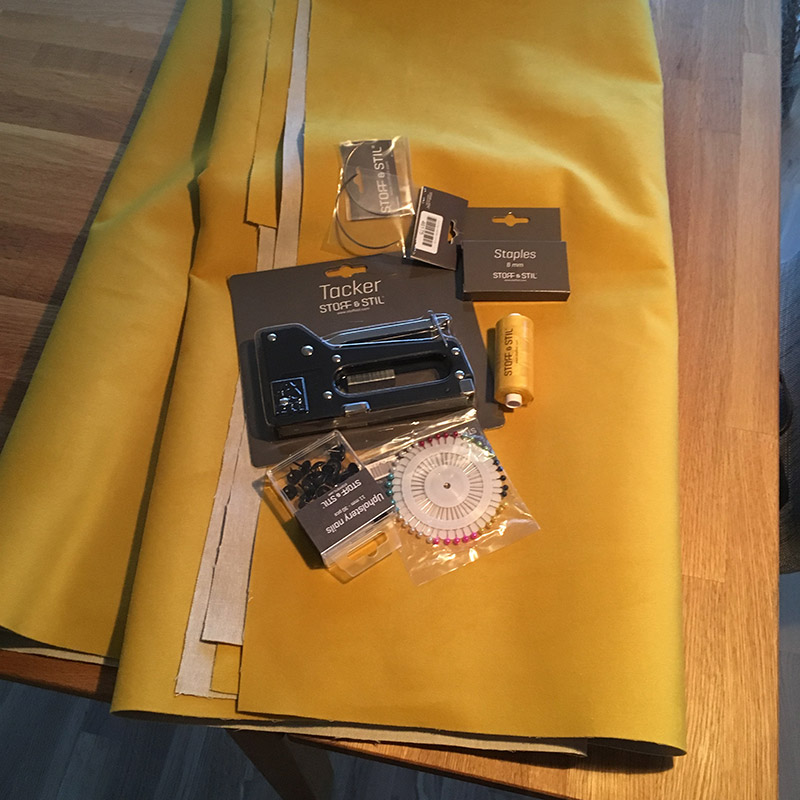
| Staples 8mm | A shit ton | $3 |
| Yellow velour fabric | 3 m | $50 |
| Yellow velour buttons | 2 | $5 |
| Upholstery foam | 3 m | $25 |
| Cotton batting | 3 m | $15 |
| Upholstery nails | 3 m | $3 |
| Denim sewing thread | 1 | $4 |
| Curved upholstery needle | 1 | $3 |
| Total | $205 |
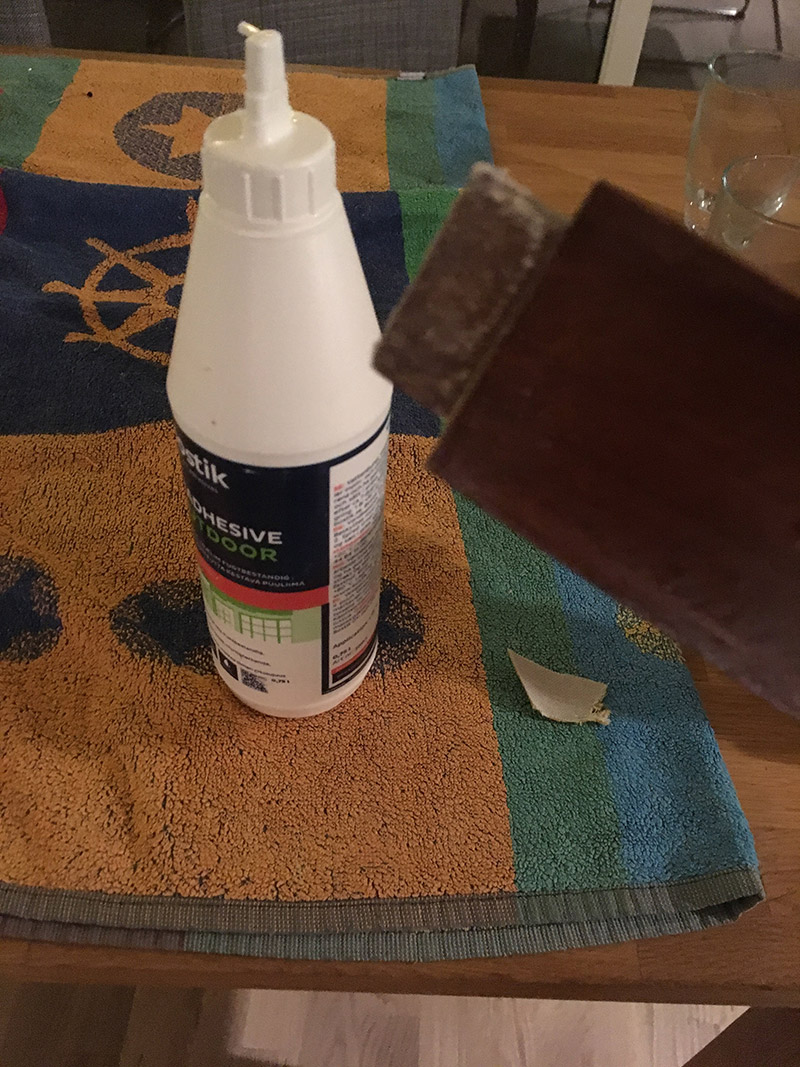
These are the items bought specifically for the project. All materials were bought at Stoff og Stil, a sewing supply store in Norway. In addition to the items listed above, the project required some basic tools. A round nose plier, side-cutting plier, hammer, scissors and a screwdriver. I also used some wood glue and a wood cleaner/wax remover product. The tools all depend on what chair you’re working on, and what you have laying around.
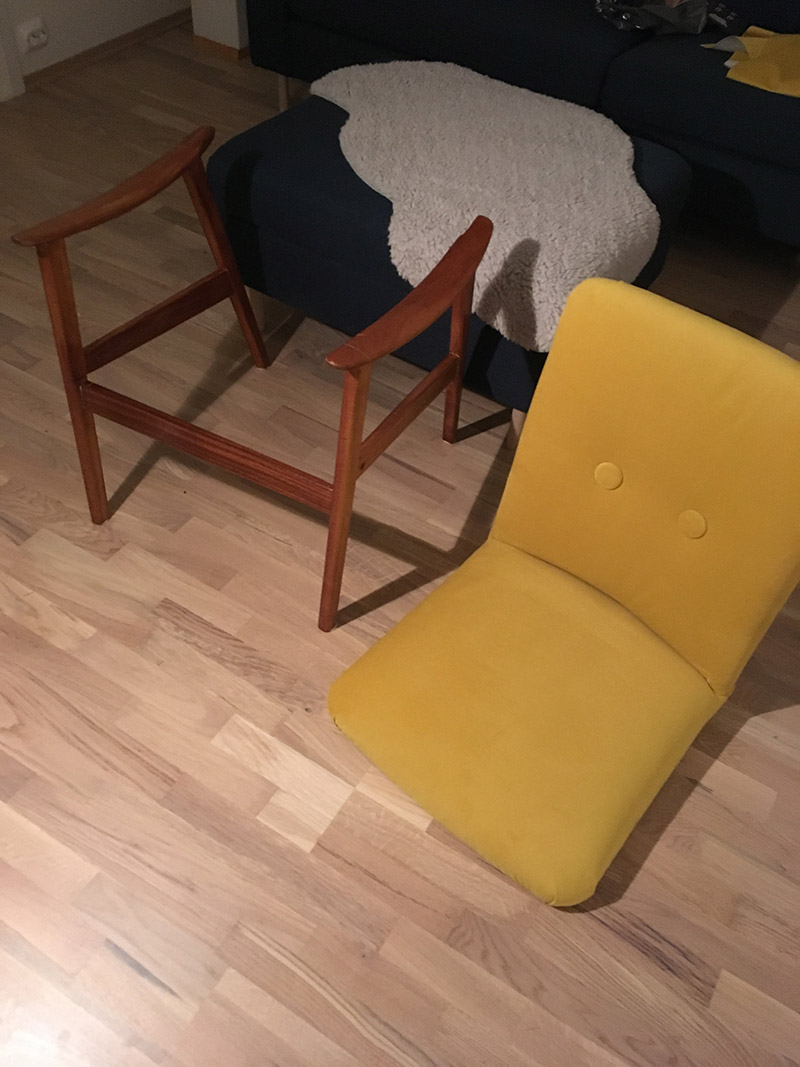
Finding a Suitable Chair
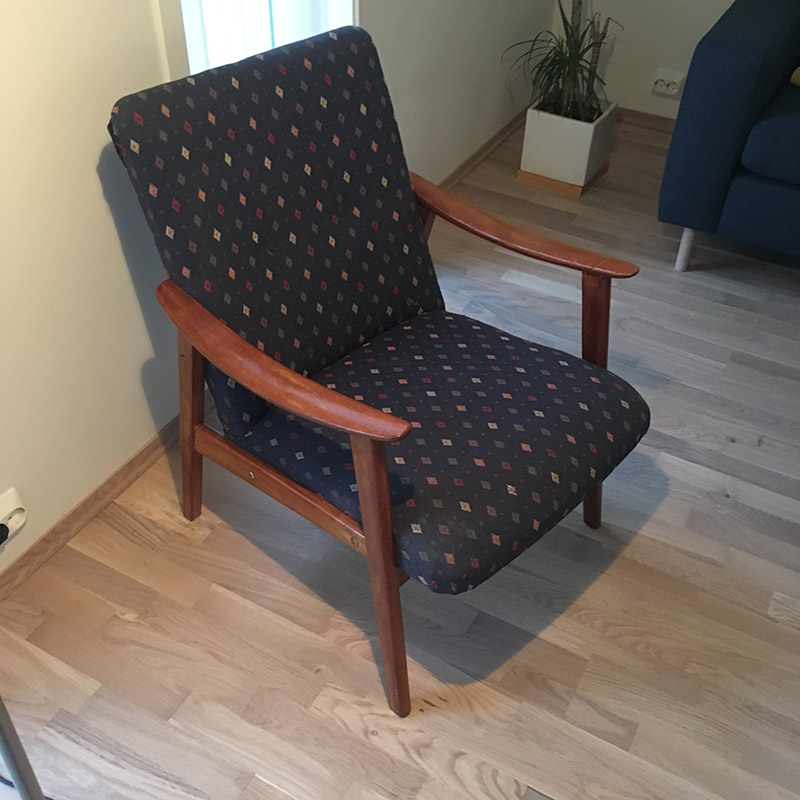
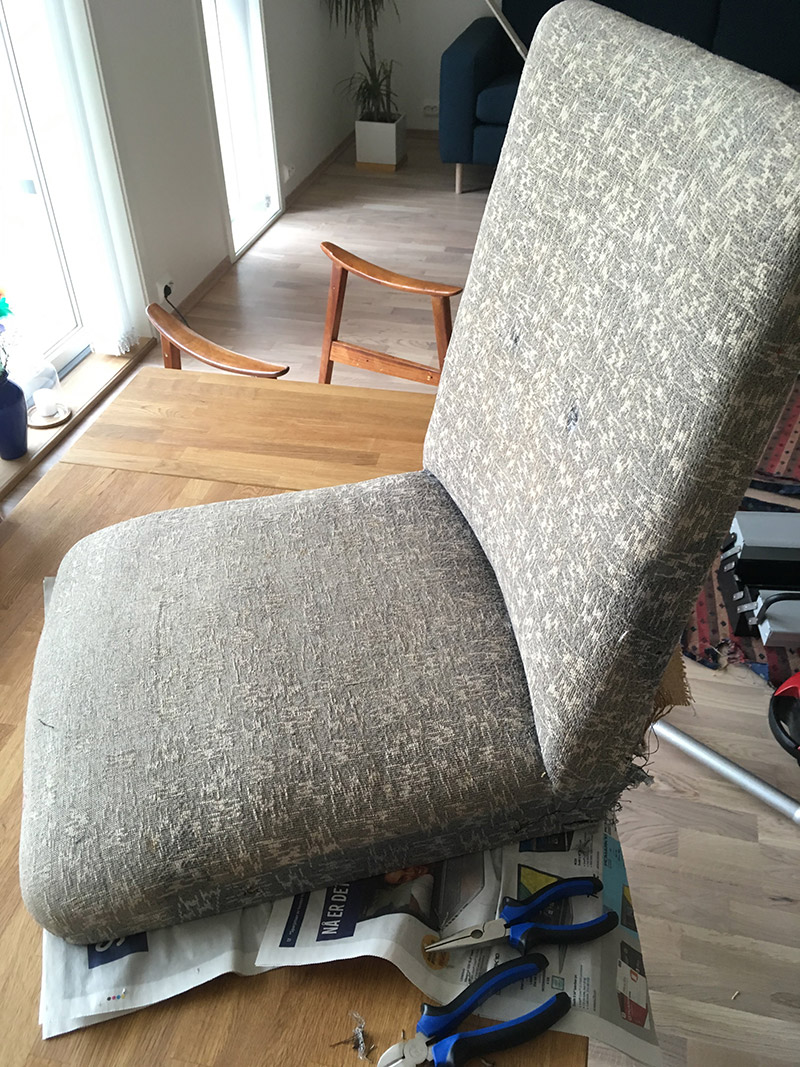
We looked around online and in different used furniture stores. We finally found a chair at NMS Gjenbruk, a local thrift store, for around 700 NOK. Not that cheap, but it looked exactly like what we wanted. A simple Scandinavian style armchair. It did not have any upholstered fabric on the armrests, only the chair pad and back, which is good when you’ve never done anything fabric related before. The chair pad and back is challenge enough. So, go for something simple, if you want to attempt a similar project.
Buying Supplies and Fabric
This step turned out to be hard to do in one go, even though I tried. I had to go back a couple of times for things I suddenly realized that I needed.
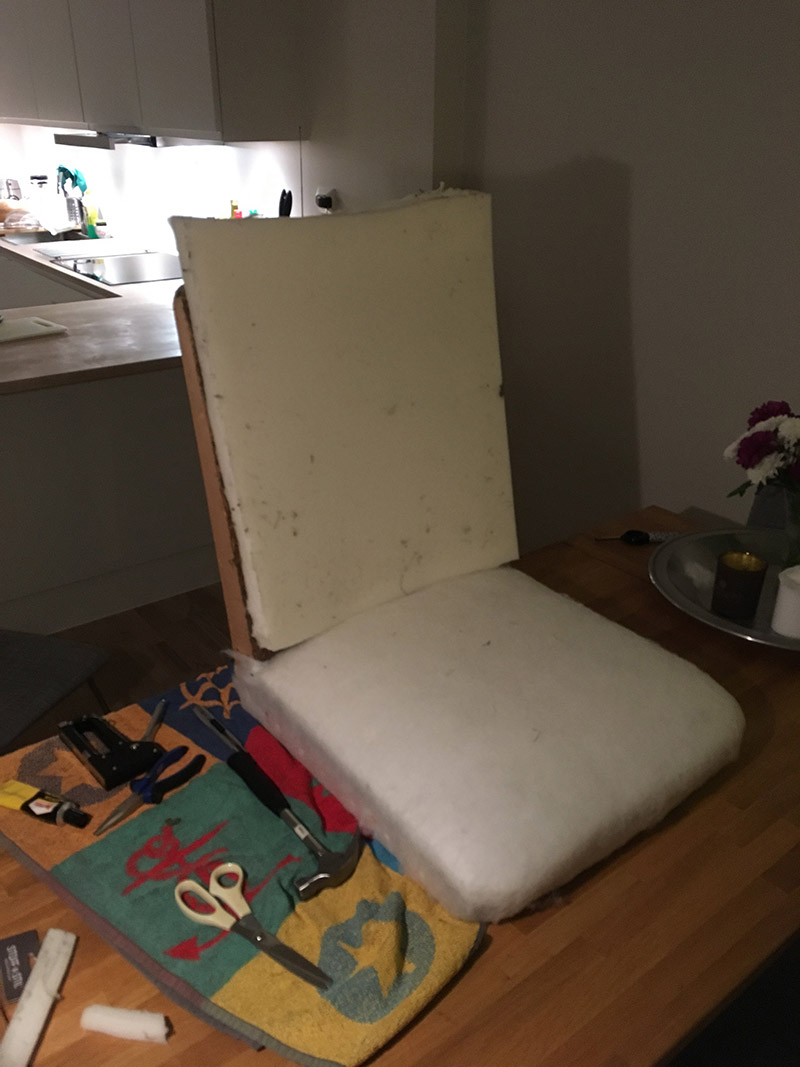
Dismantling the Chair
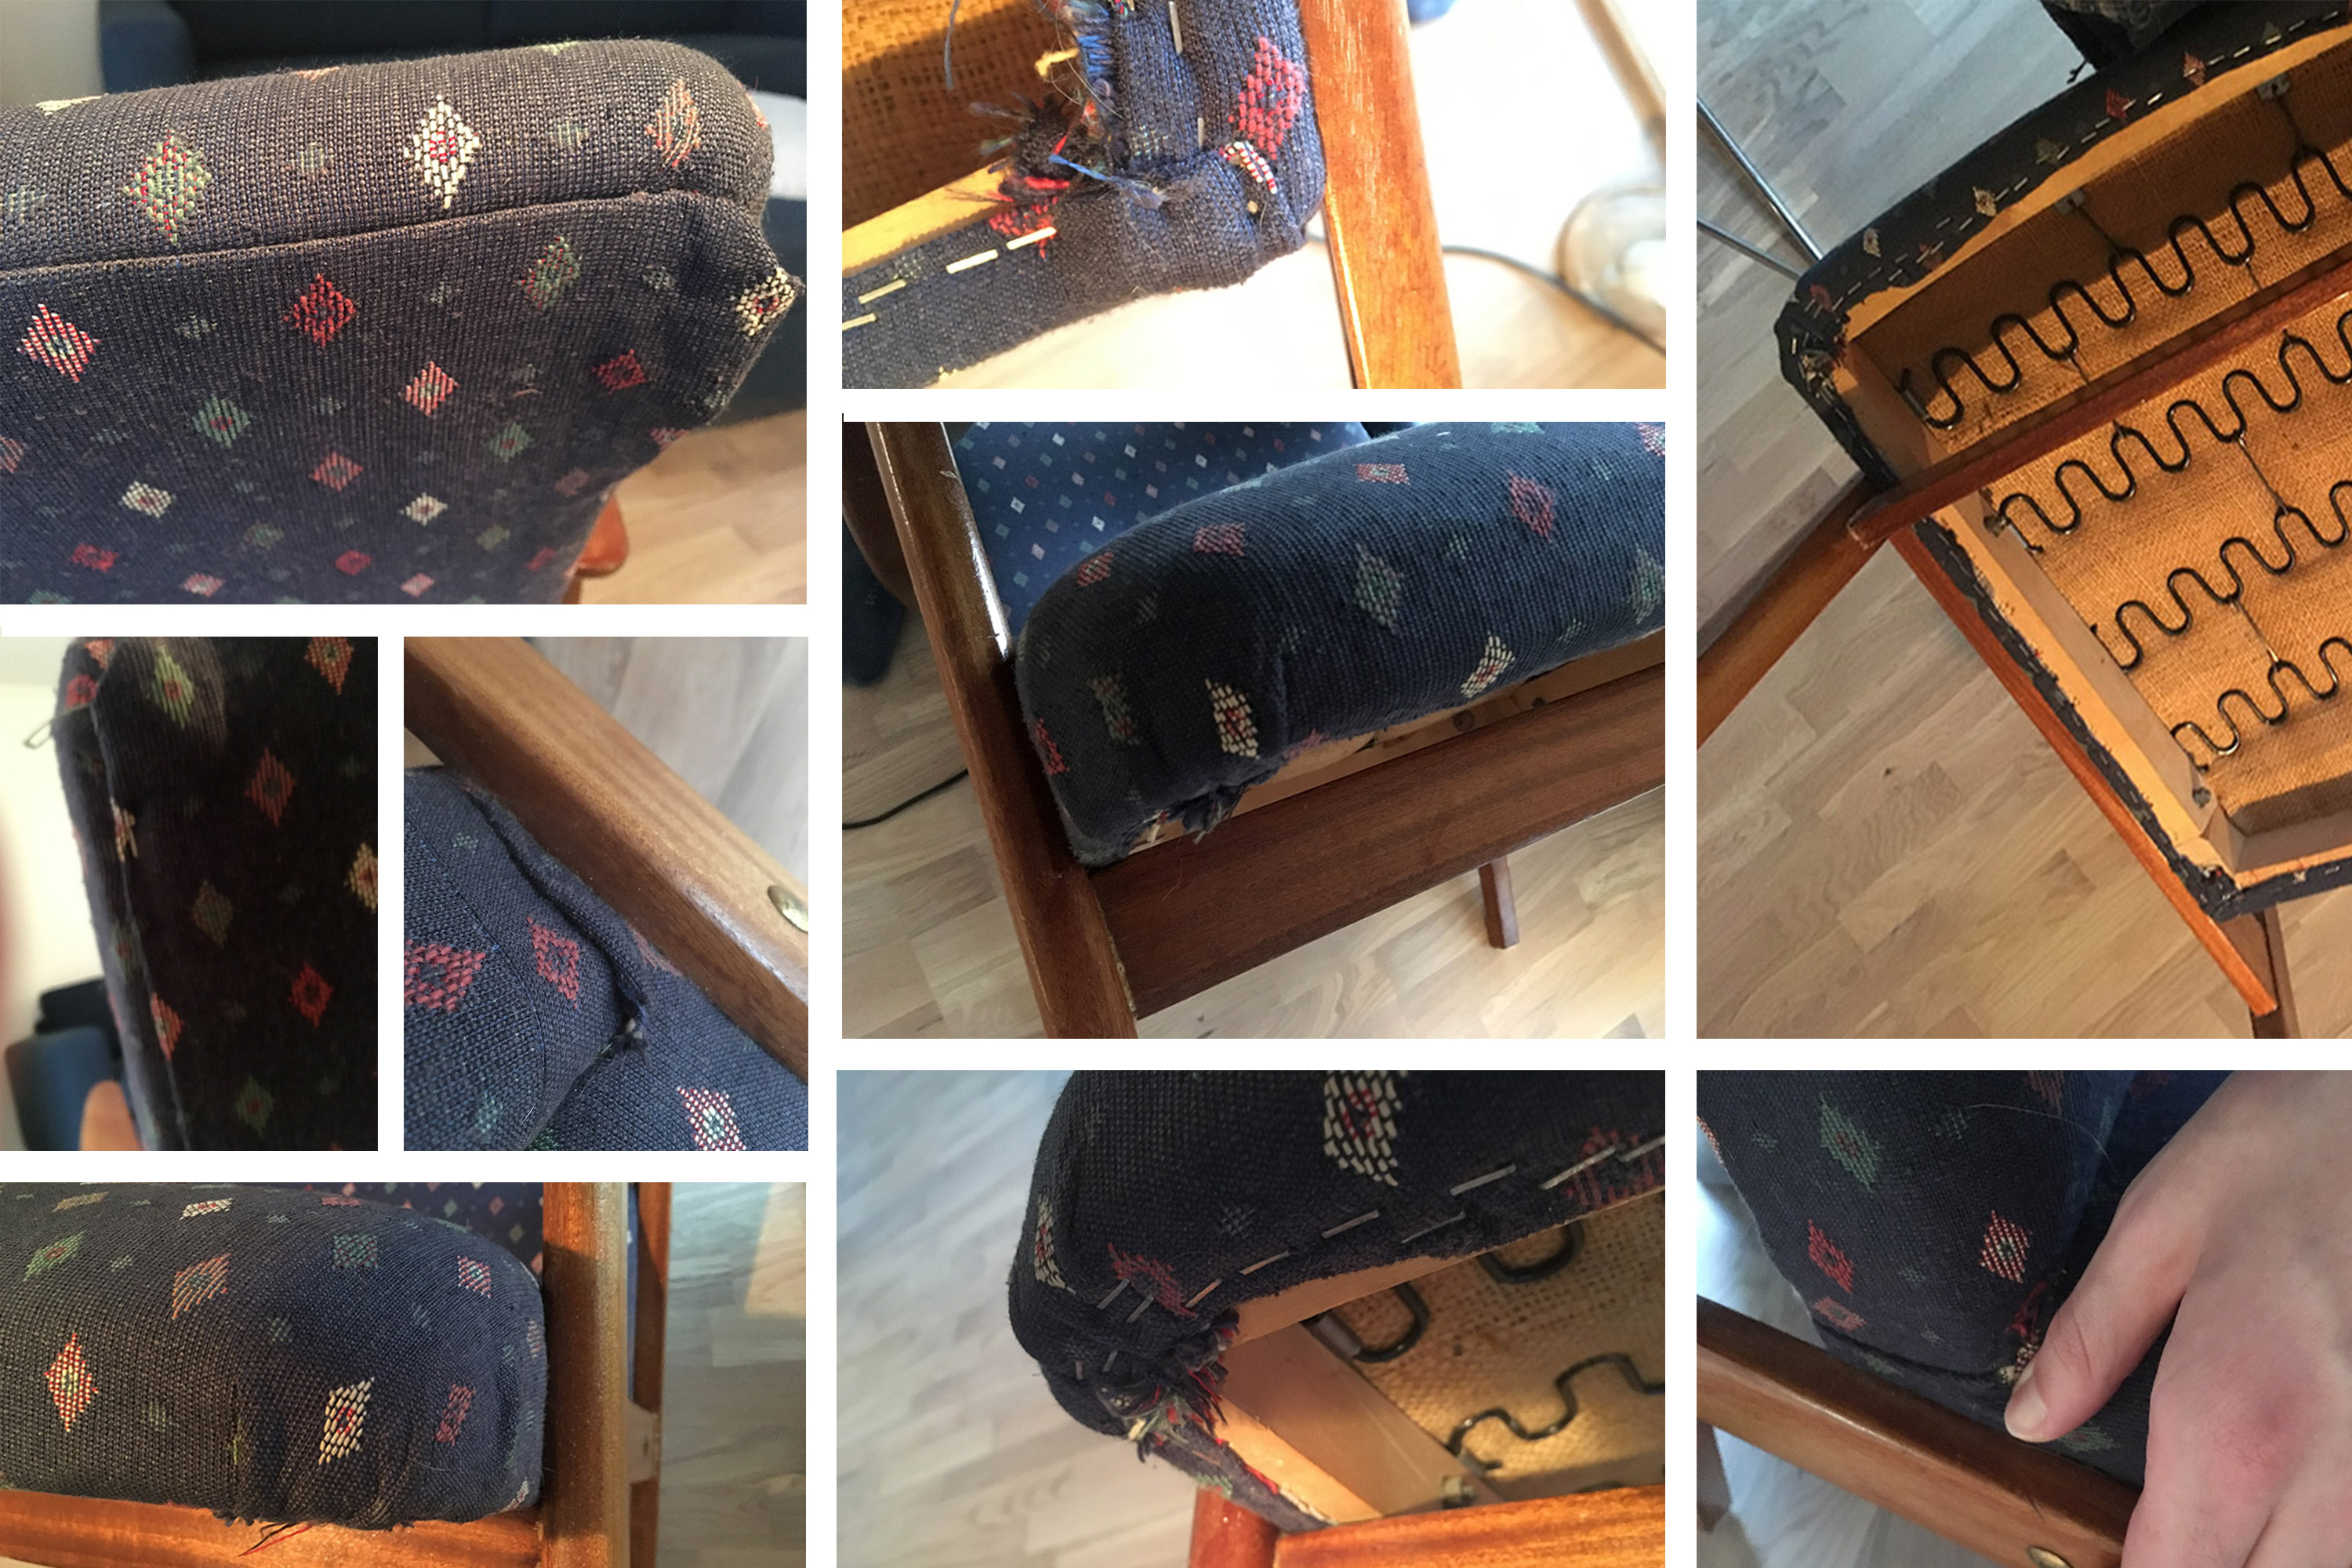
If you plan to do a similar project, remember this: Take a lot of pictures while dismantling the chair. As you can see from the pictures below, be meticulous in recording how the original upholstery work was done, in order for you to replicate it later. It will also serve as a way to determine the order of how the new fabric pieces should be attached. For instance, in my case the chair pad fabric should be attached after the back support fabric.

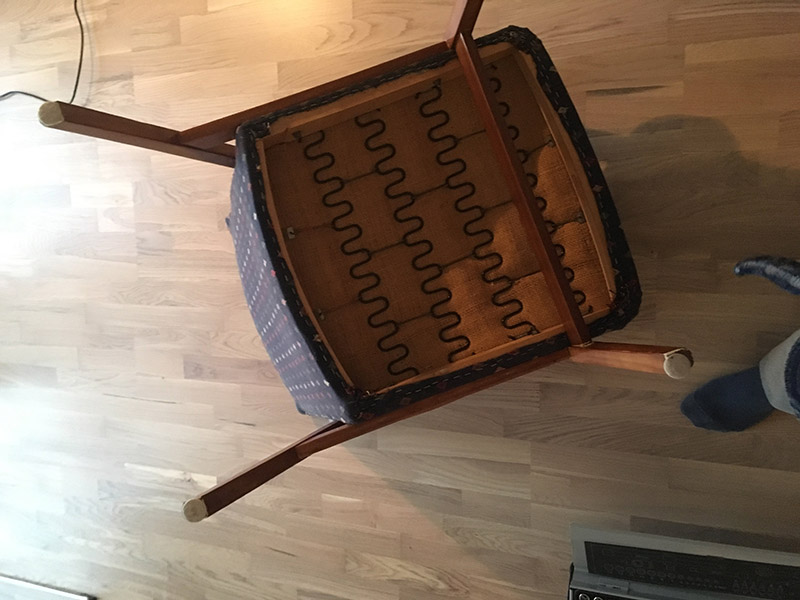
 The chair is pretty old, which meant that the bolts holding the chair and the base together were hard to get out. I had to apply some force to a hex key positioned at the tip of the bolt, to get them out. Once out, I cleaned the brass bolts and fasteners in a water salt and vinegar solution. Later, I applied some grease on the bolts and fasteners.
 Found this underneath the chair. Product number 2383 and made by P.I Langlo factories. Nothing about what year it was produced, which I am a bit curious about.
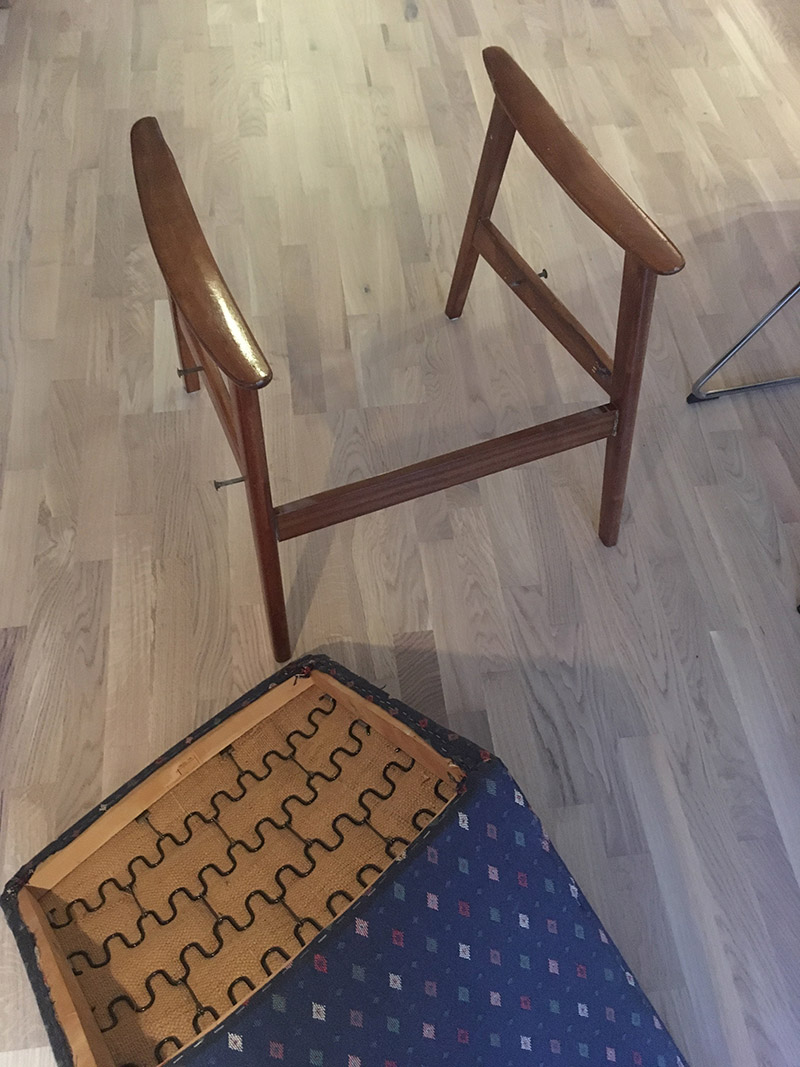
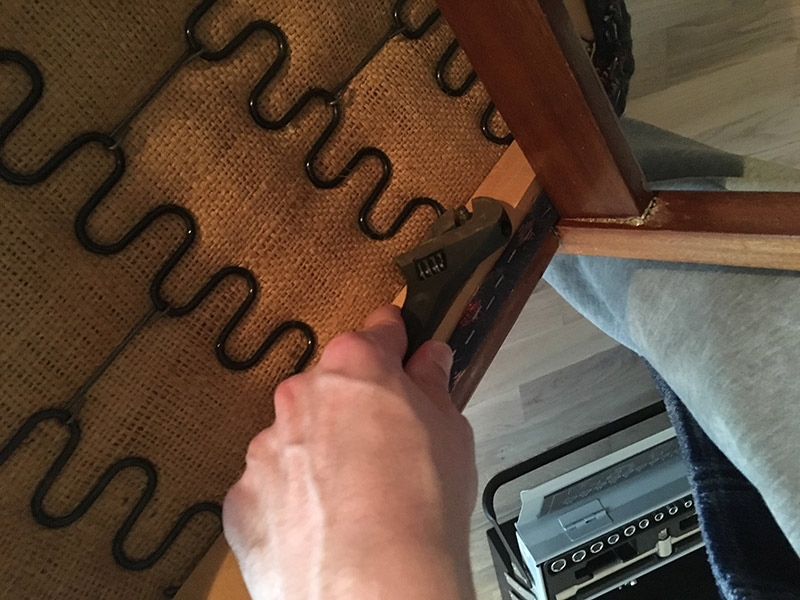
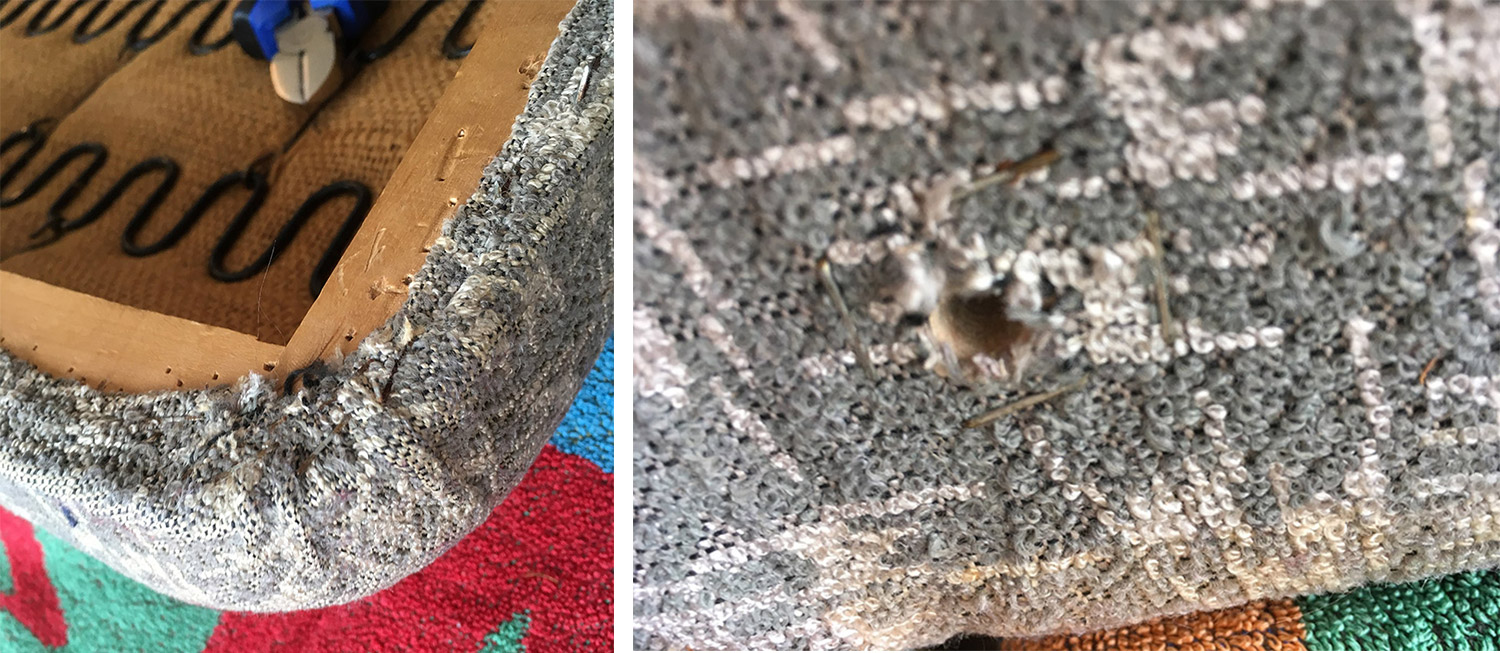
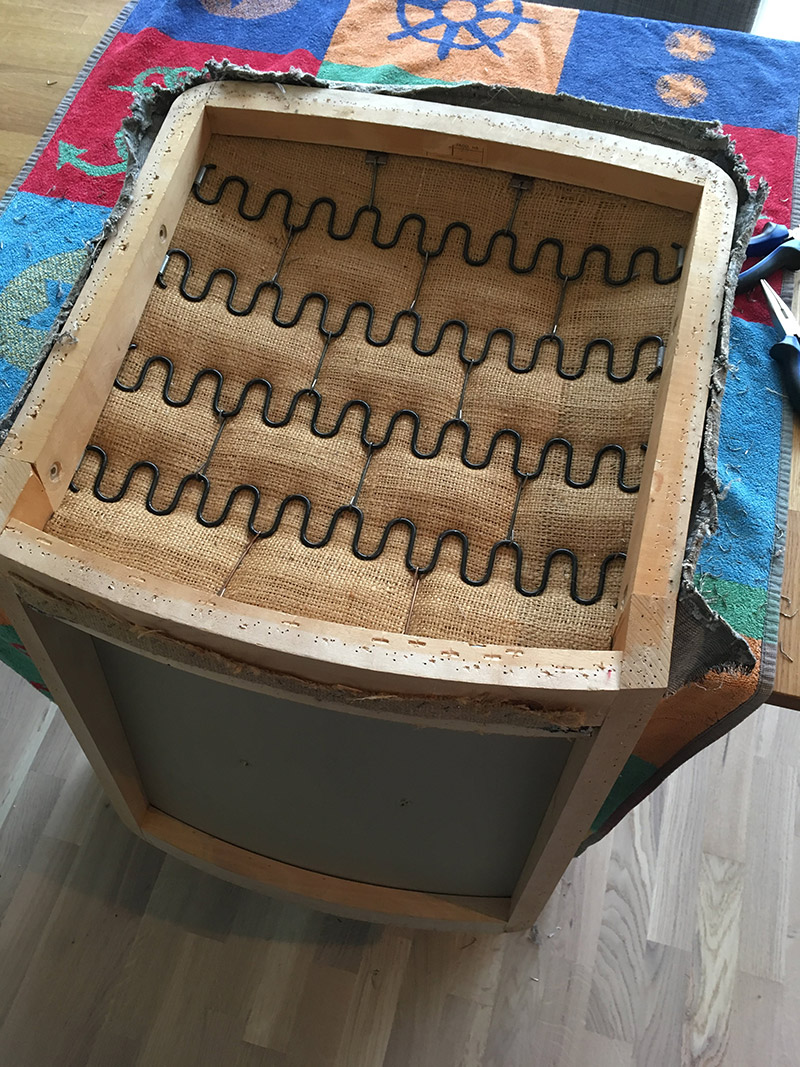
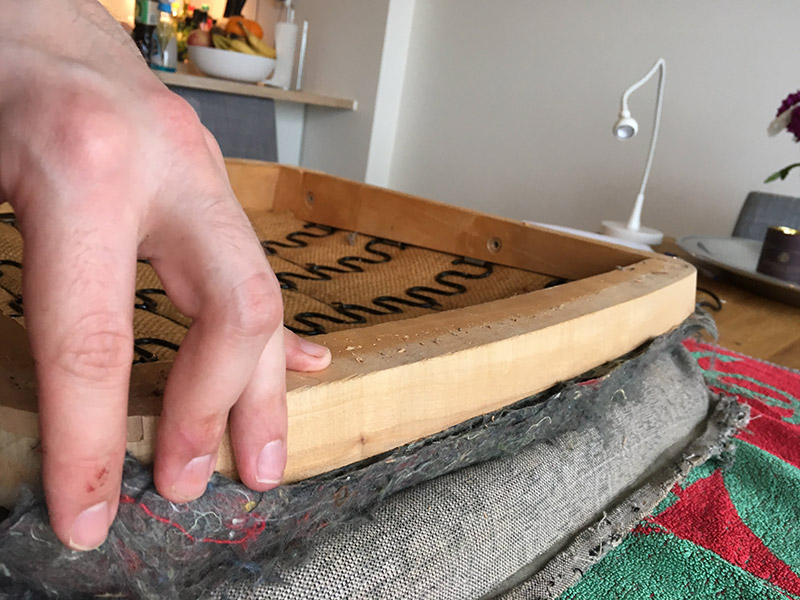
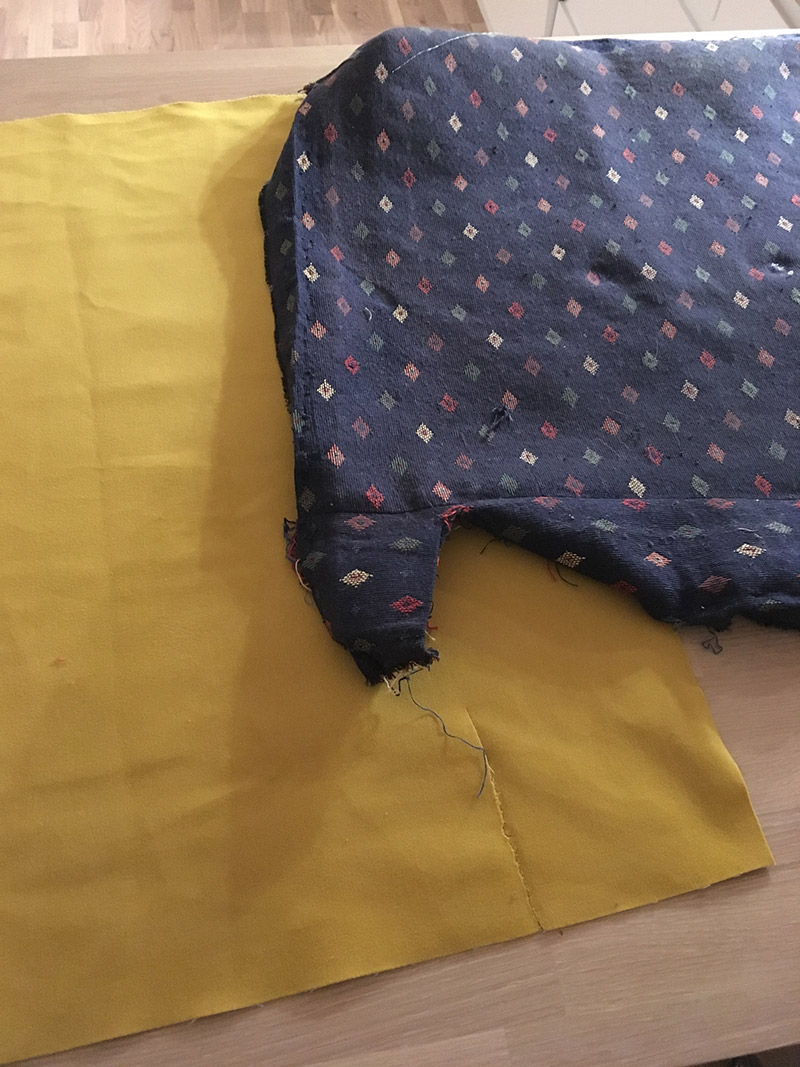
Remove the Original Upholstery
Again, take a lot of pictures! In addition, remove the old fabric without destroying it, because you can use the original fabric as a template when measuring up the new fabric, batting and foam later.
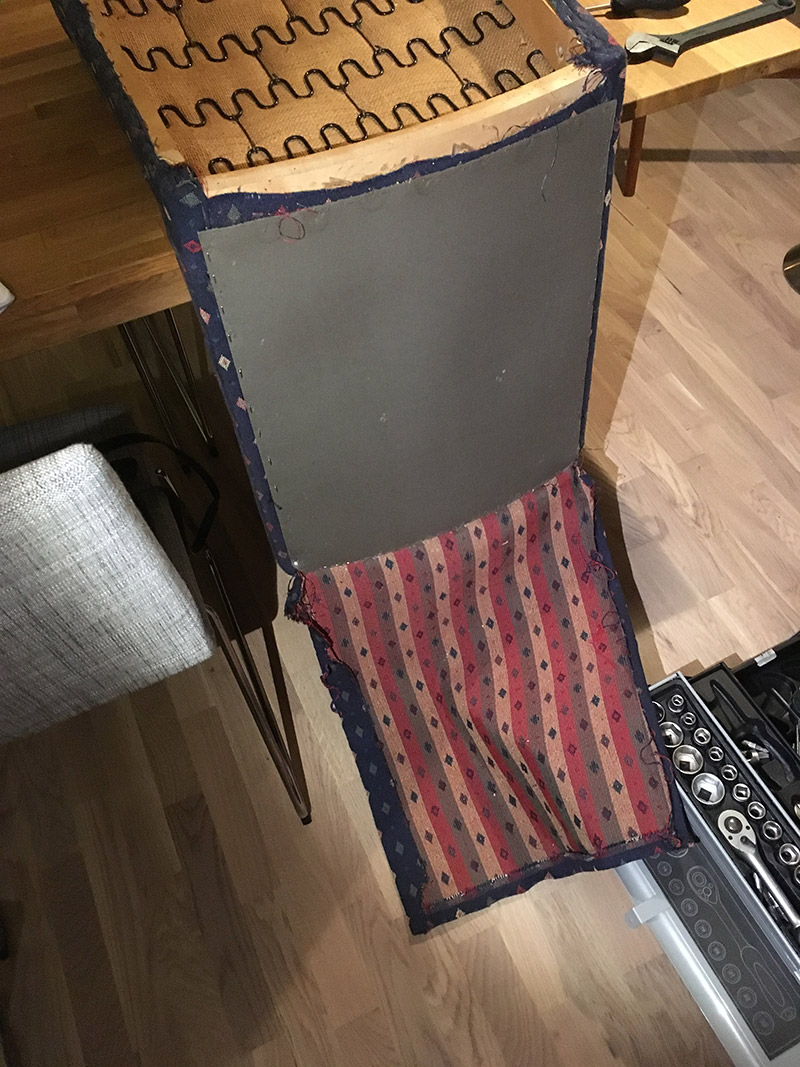 A plate, that had a cardboard feel to it, was found underneath the fabric on the back. I managed to reuse it by carefully removing all the staples that attached it to the wood frame.
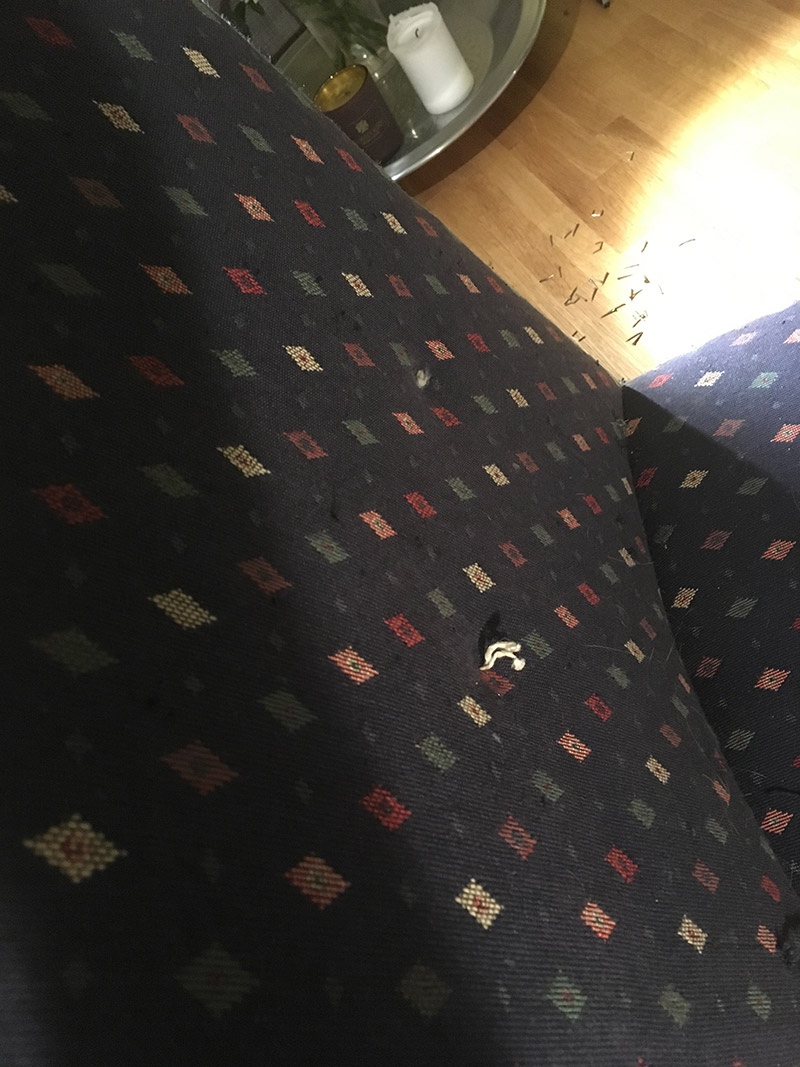
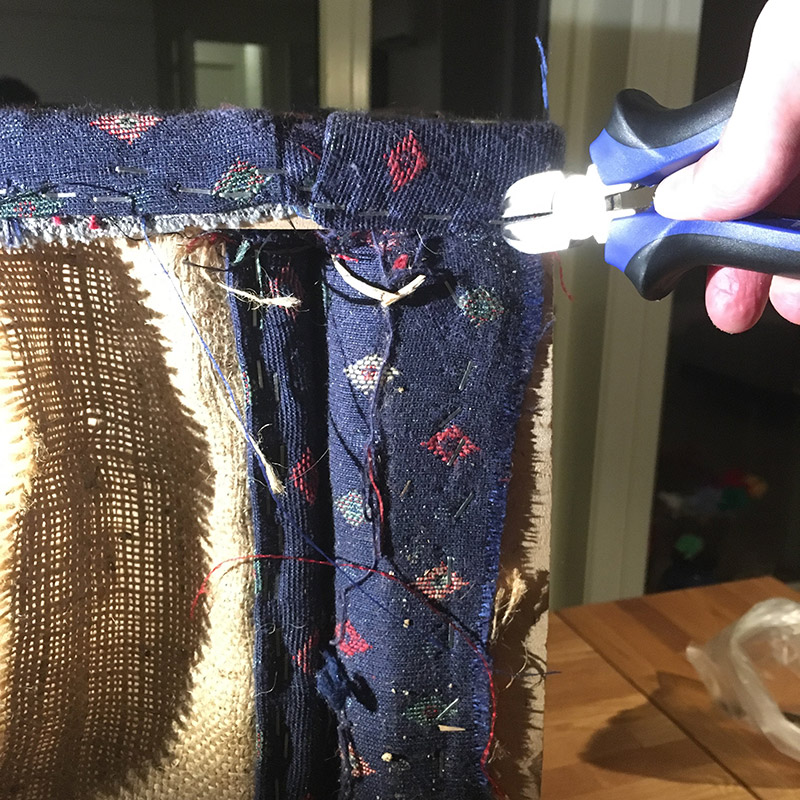
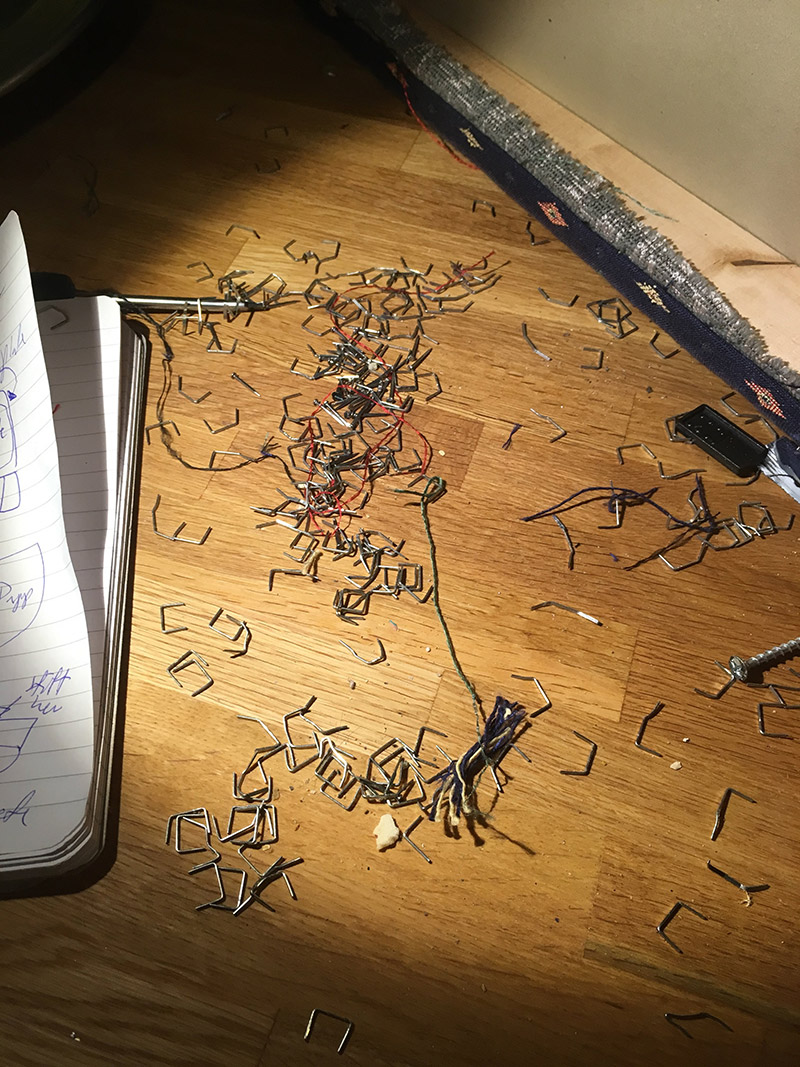
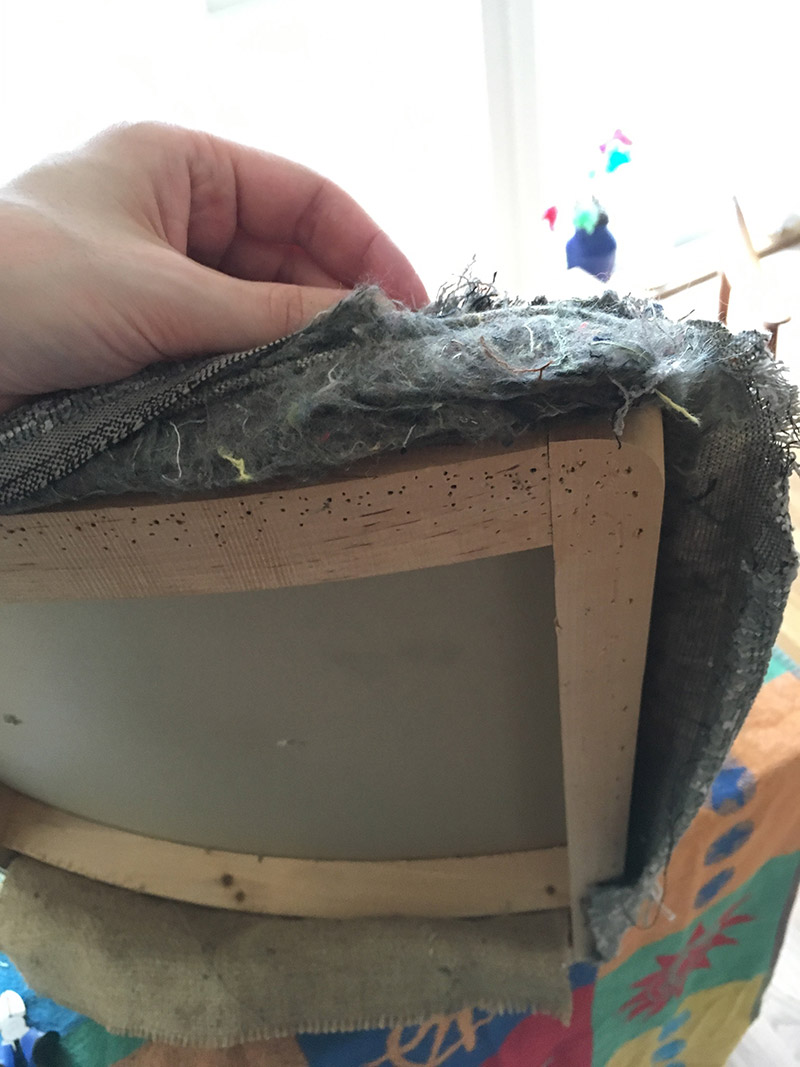
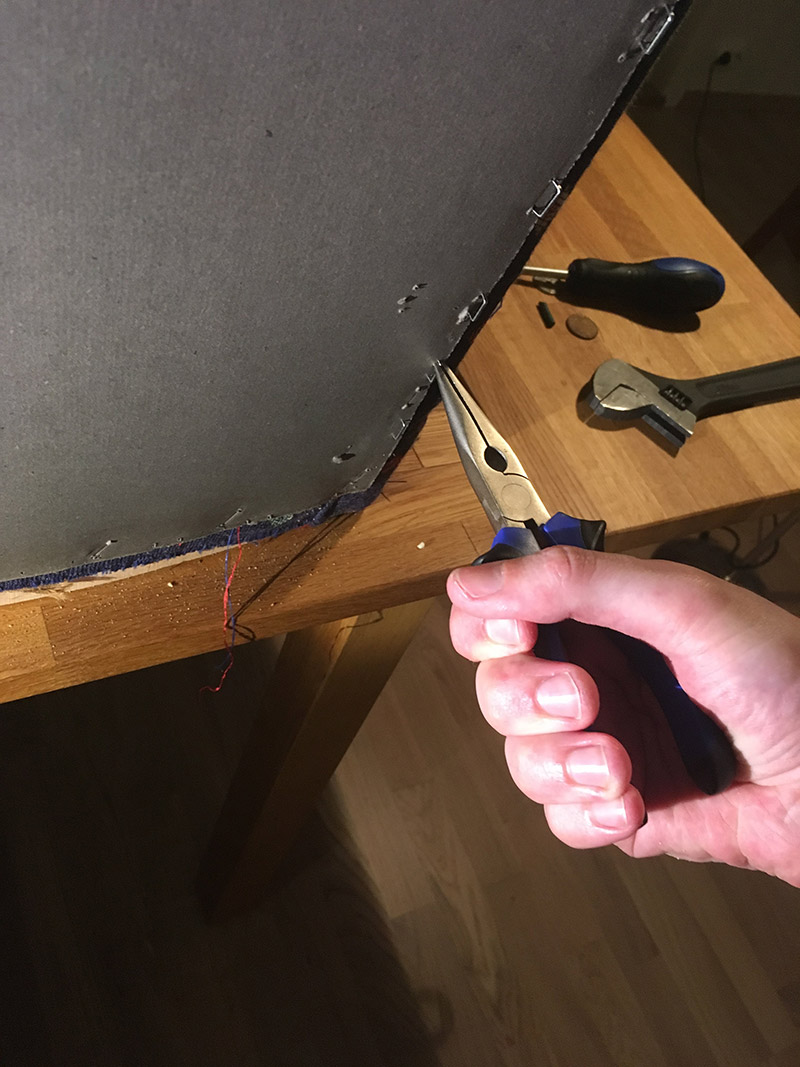 A lot of staples. Some of the staples were quite hard to get out. In order to get them out, I first split the staple in two with side-cutting pliers, and dragged each part out with the round nose plier.
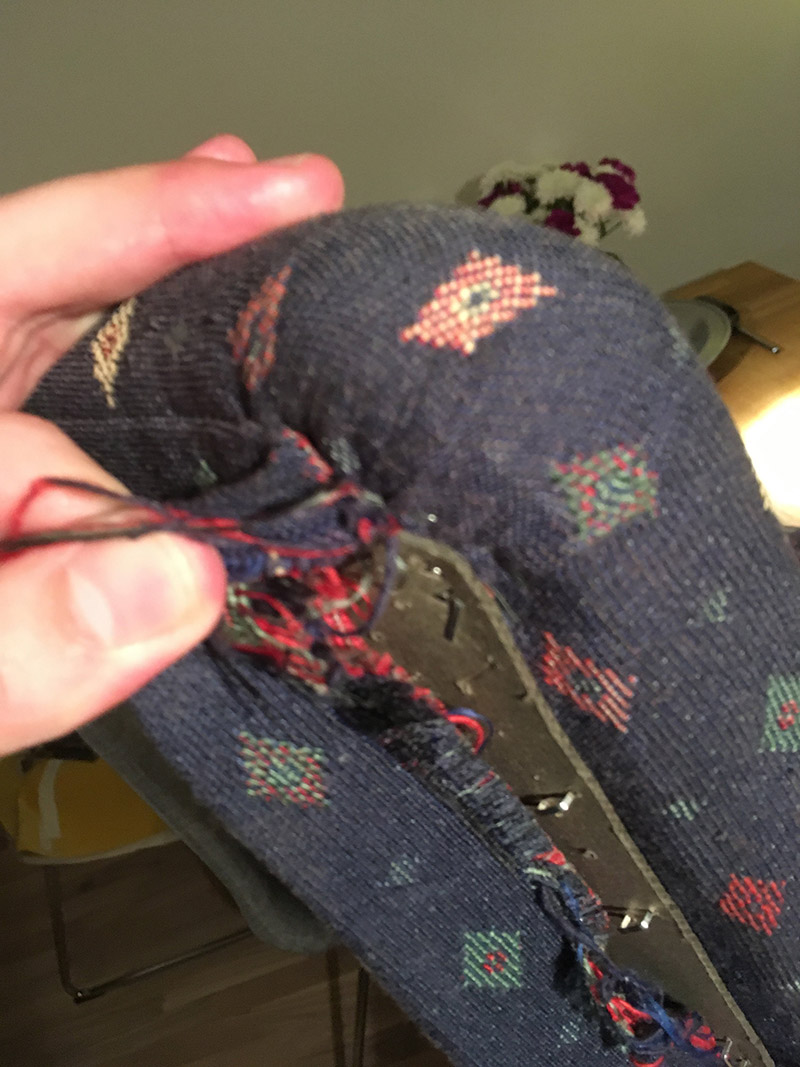
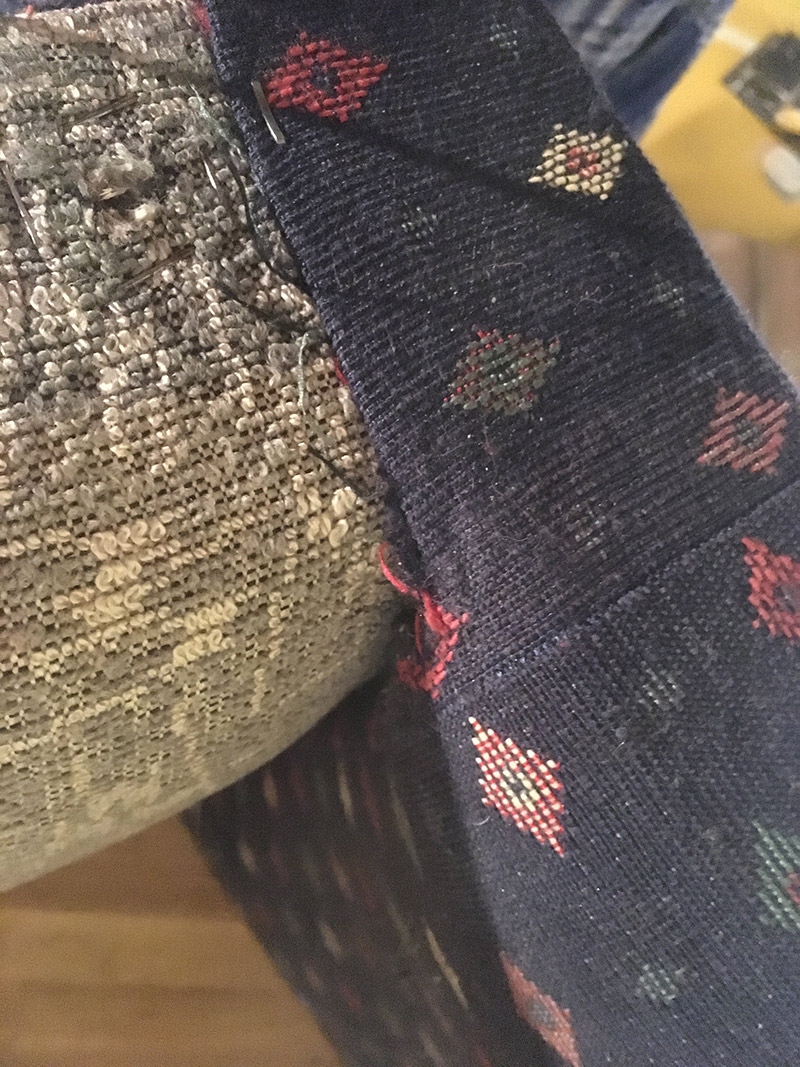
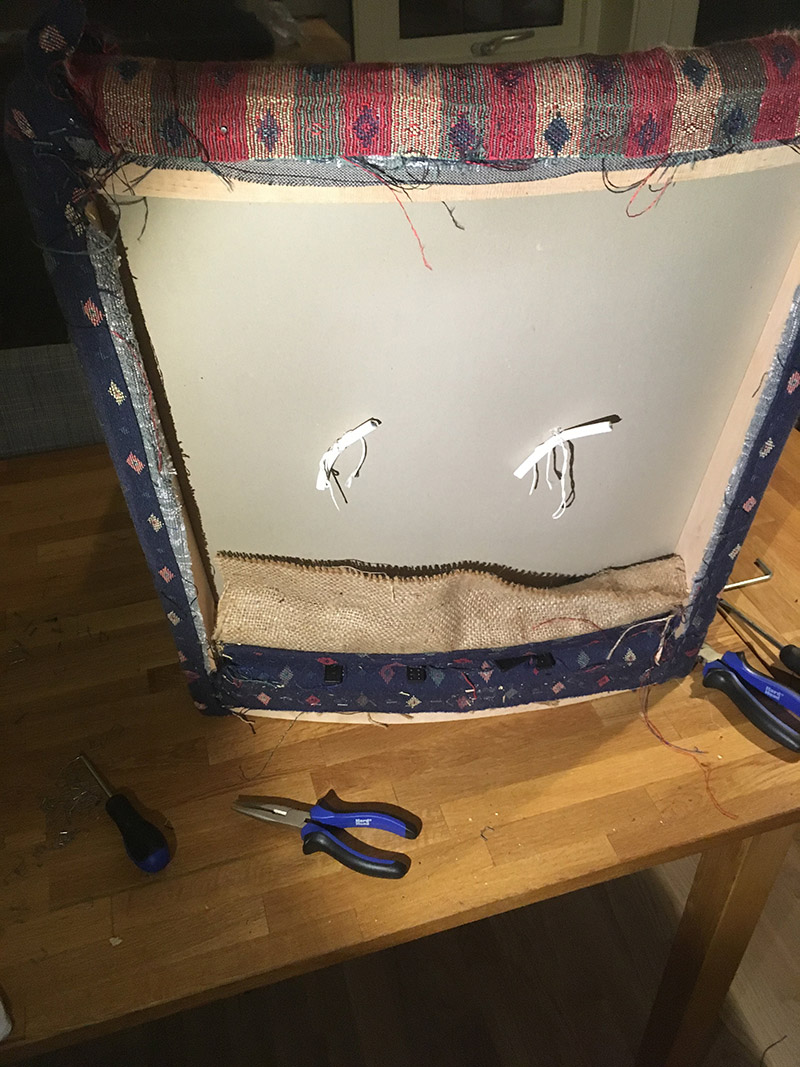 After having removed the cardboard covering, the interior could finally be seen. As you can see from the picture above, the buttons on the back support are secured by string and pieces of electrical wire. Which made me wonder if someone had reupholstered this chair before, maybe.
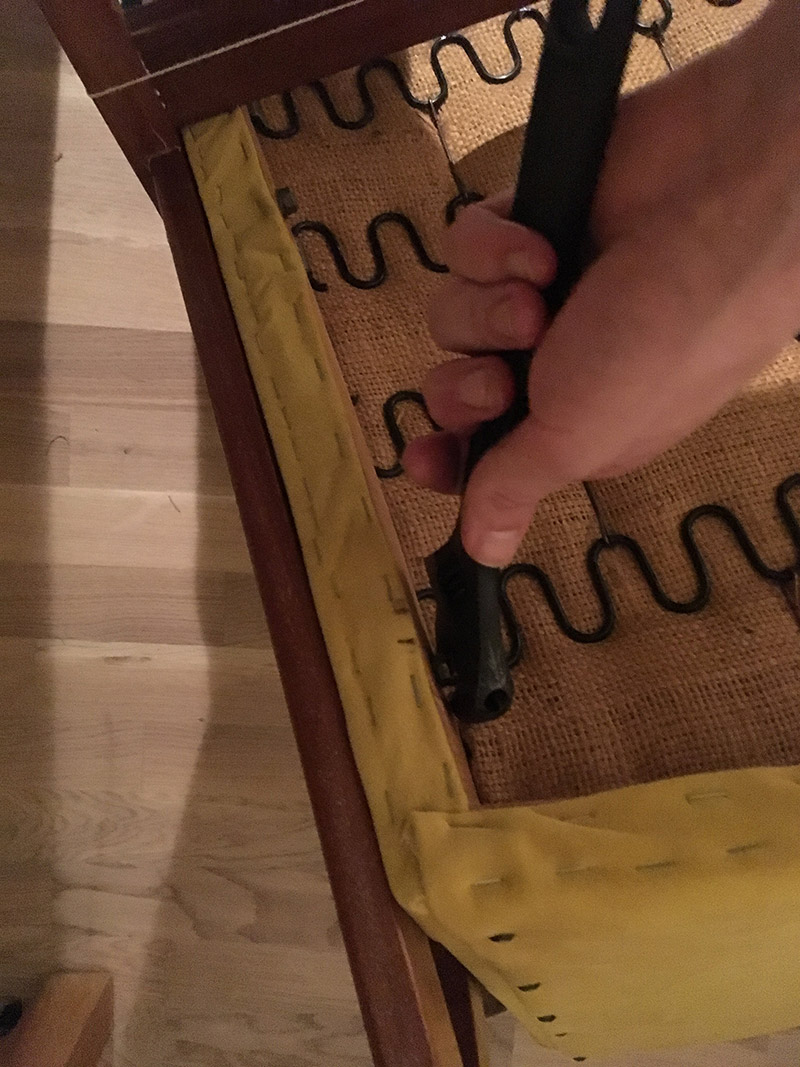
 Uh oh! Another layer of fabric, which meant even more staples to pull out. This was also the point where I realized I maybe needed a layer of cotton batting, underneath the yellow velour fabric. This helped me secure the foam cushions, and can give the surface a more even finish.
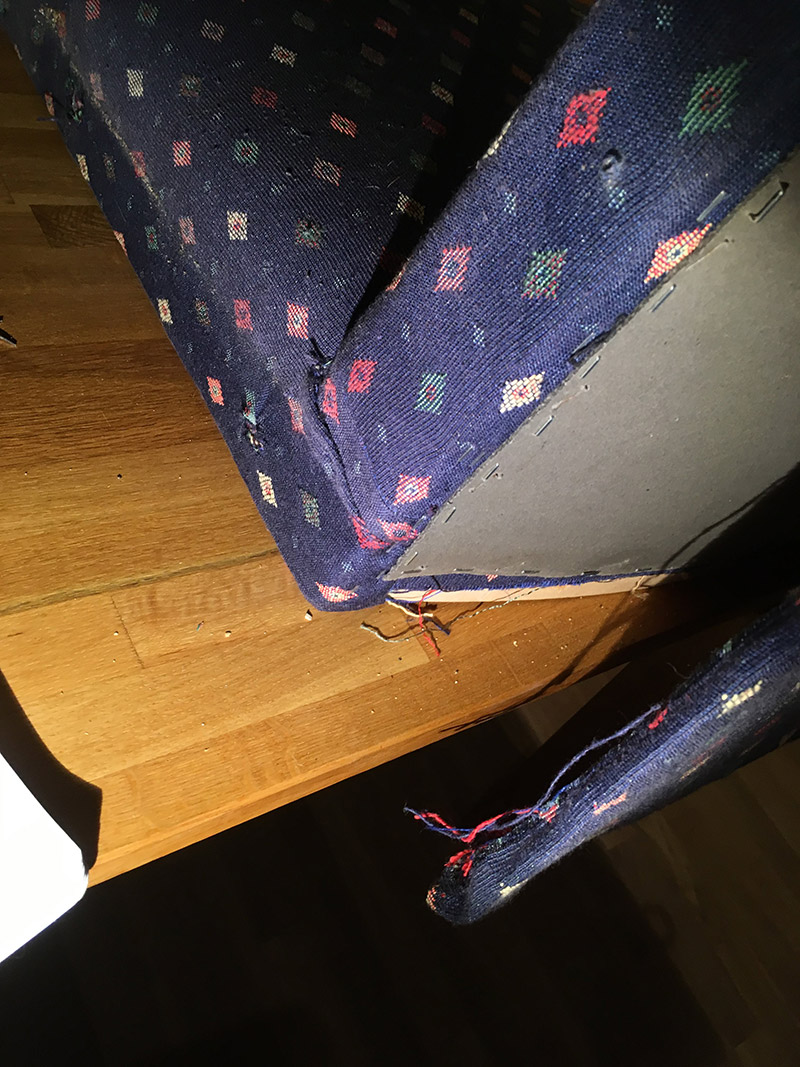
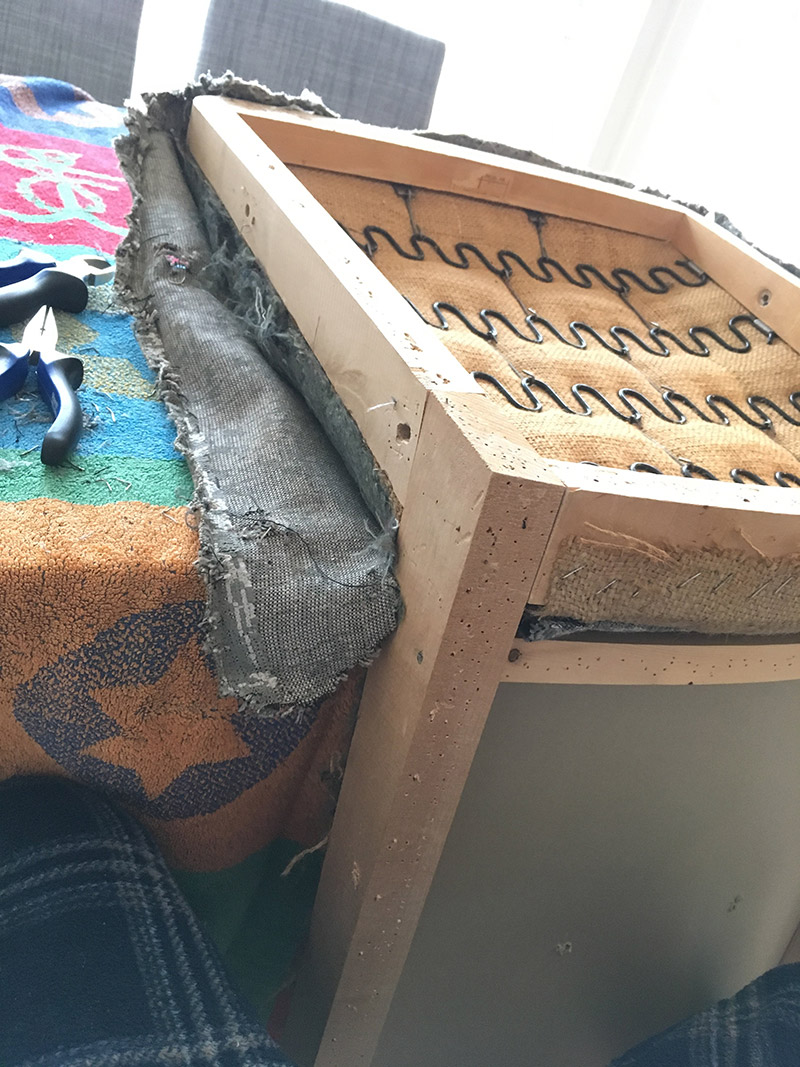
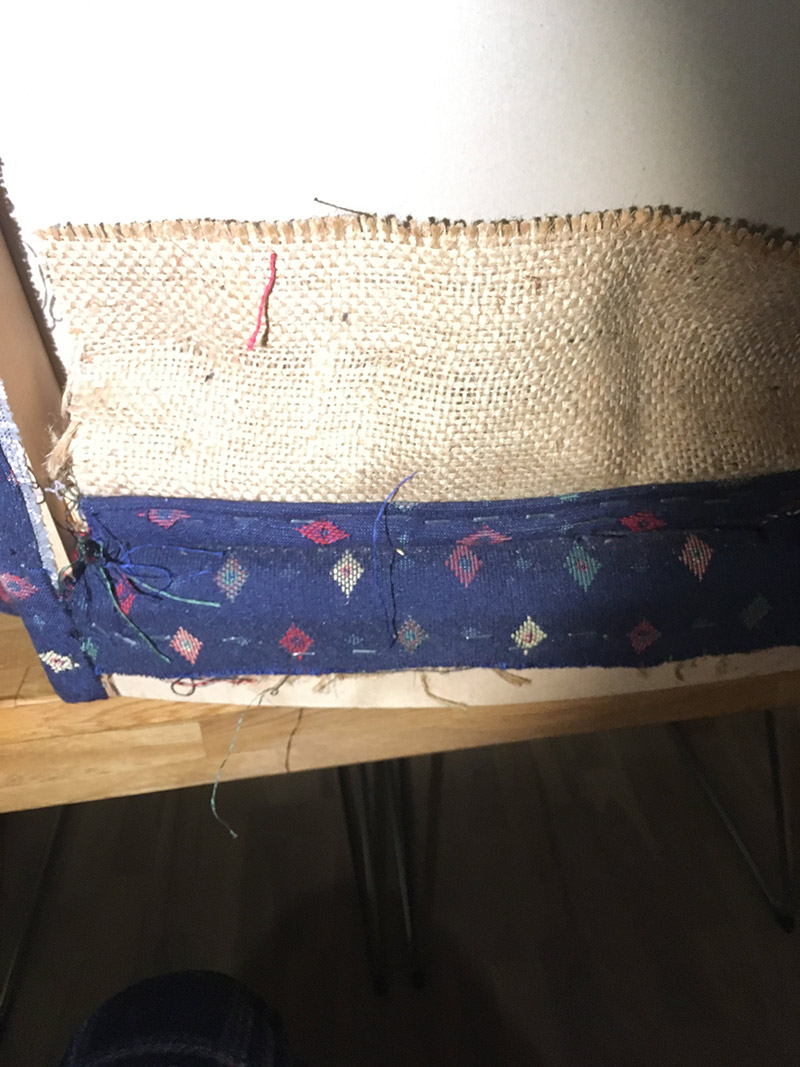 Shows how the fabric from the back support and chair pad is attached to the wood frame.
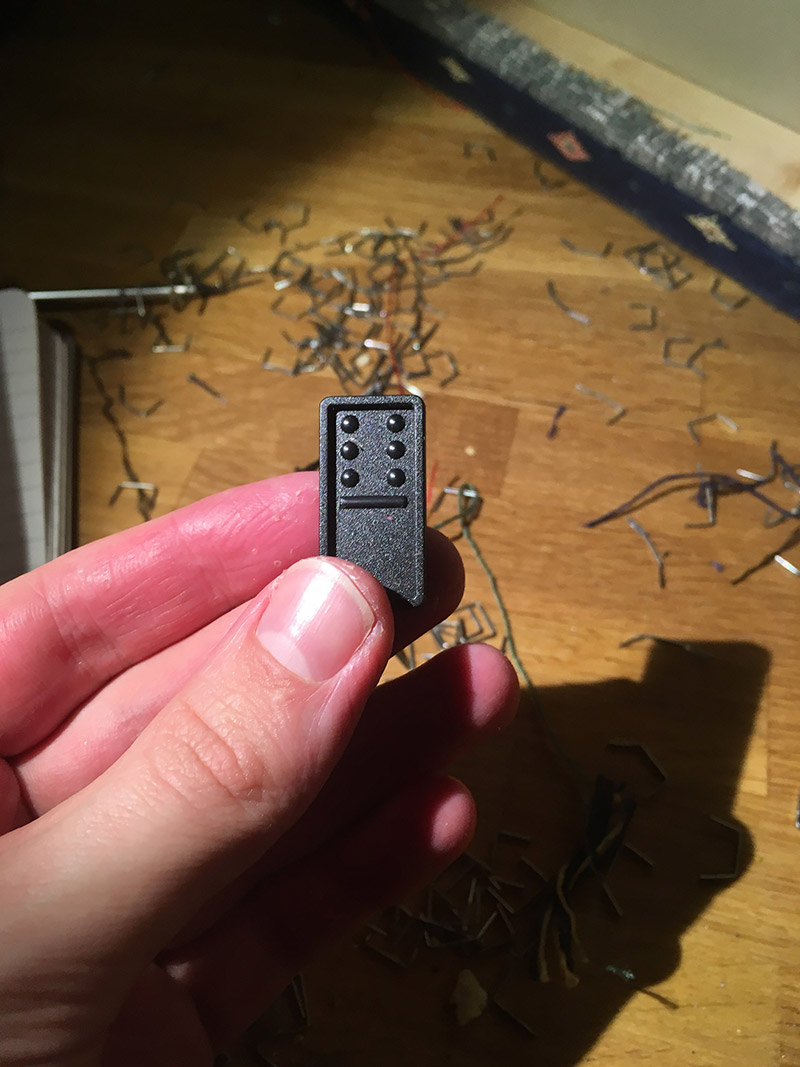 that’s where all the missing domino pieces go! Found it inside the frame of the armchair.
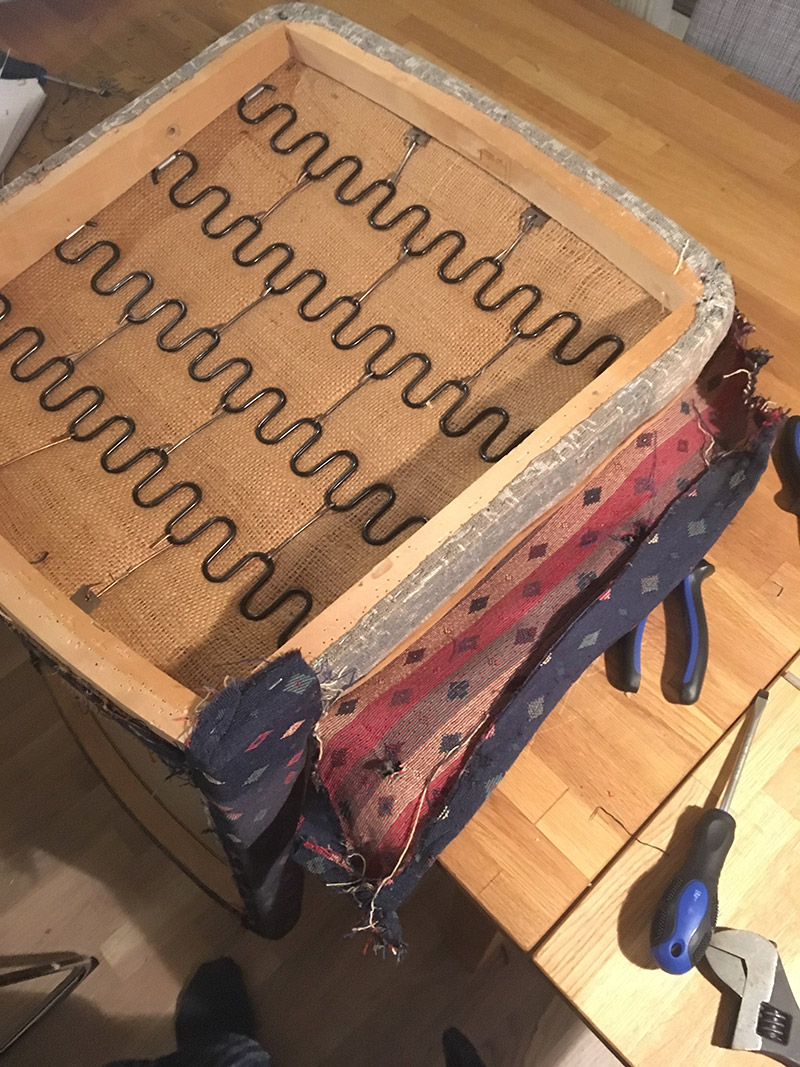
 First layer removed. Another layer to go! My hands were getting sore at this point from pulling out so many staples.
 At this point I got my first glimpse of what furniture stuffing had been used. Something similar to needled wool felt.
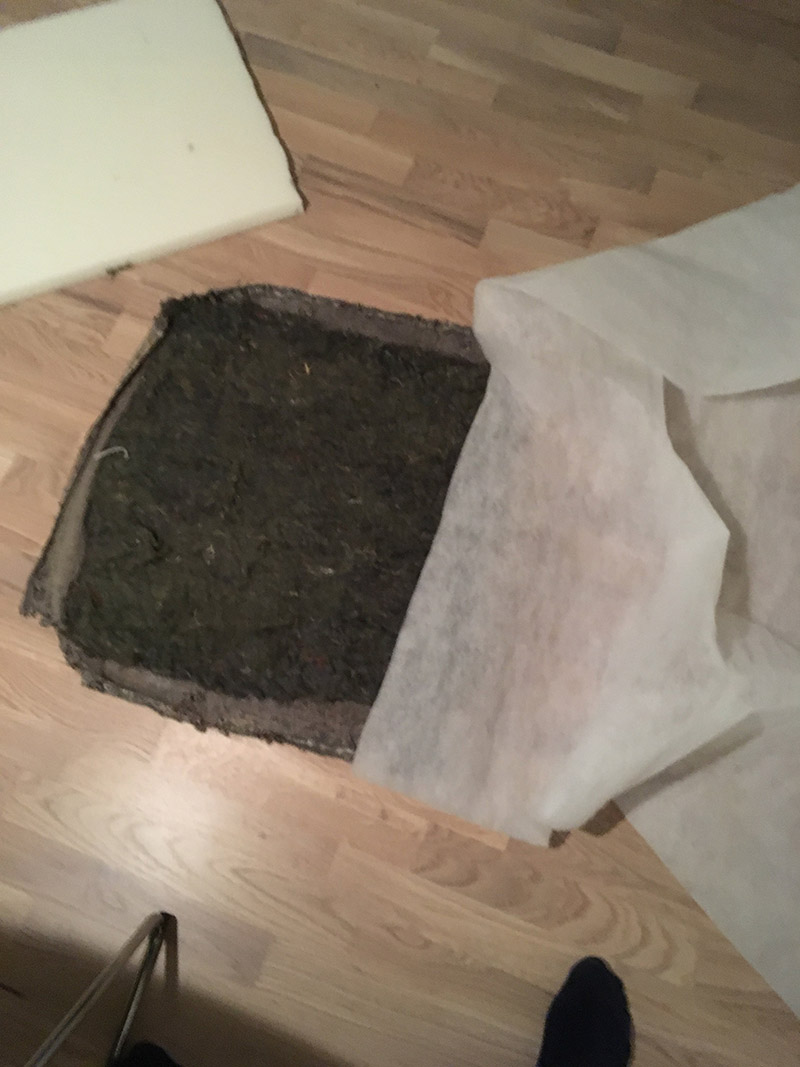
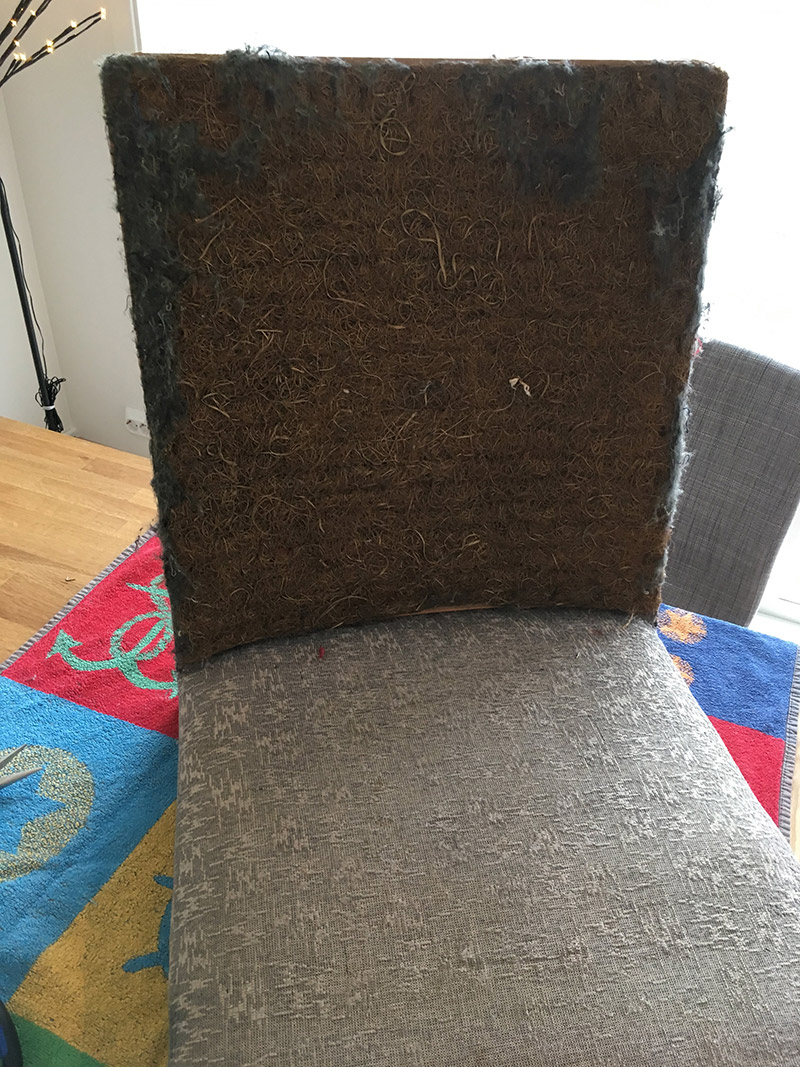 It was much more surprising to find hay beneath the needled wool felt. Apparently, it is common to use straw as a base layer in furniture filling. I had no idea!
In the end I decided to replace the needled wool felt, since it smelled somewhat old. The straw, however, I decided to keep just because it looked very hard to remove. And it didn’t smell all that much, either.
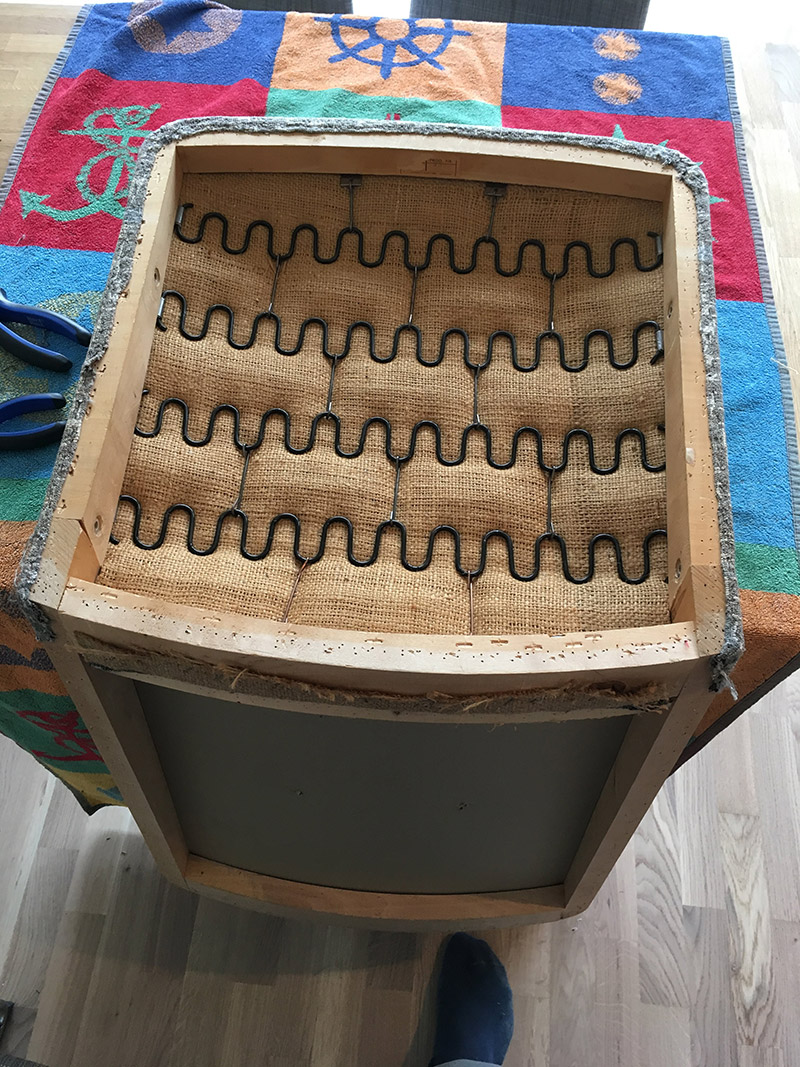
 Took a picture at this point to remember to staple around the hole where the bolts go. It seemed important.
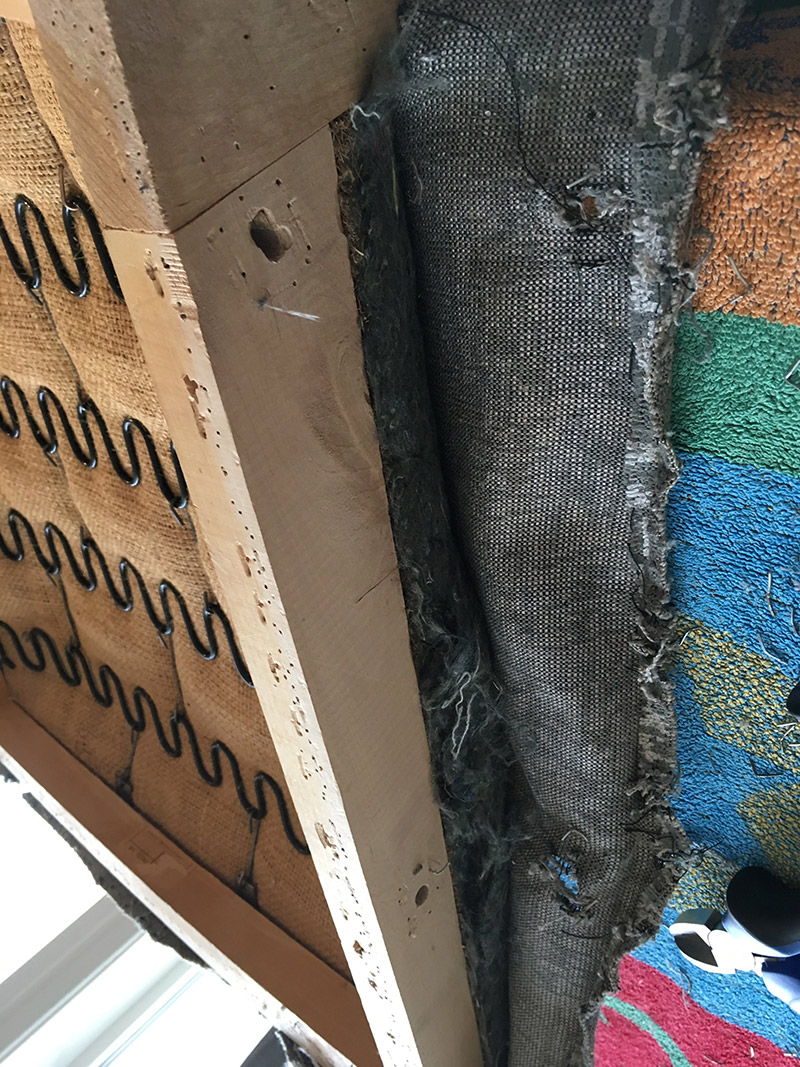
Pulling out all those staples left a lot of small holes in the wood frame. I ended up applying some wood glue to fill them up. Not sure if that was necessary, but it sure felt good.
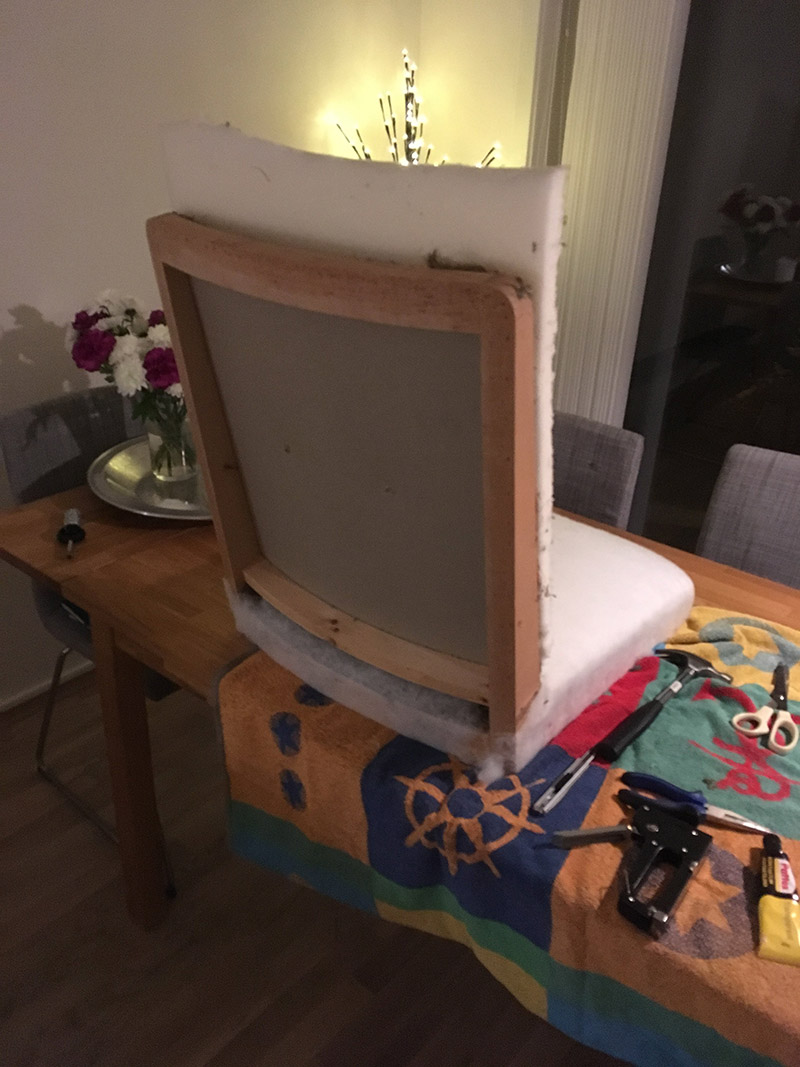
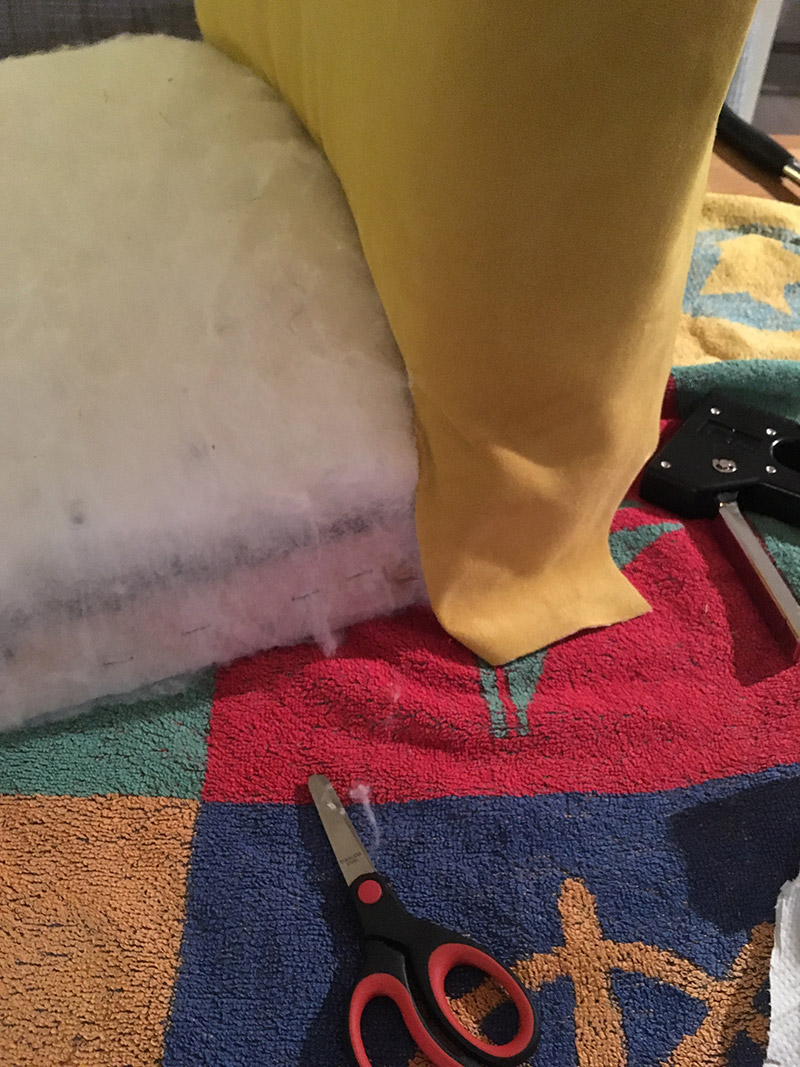
Cutting Foam and Attaching the Cotton Batting
Unfortunately, from this point forward I became a bit carried away, and did not take as many pictures as I should. Hopefully, there are enough to show how the new upholstery was added.
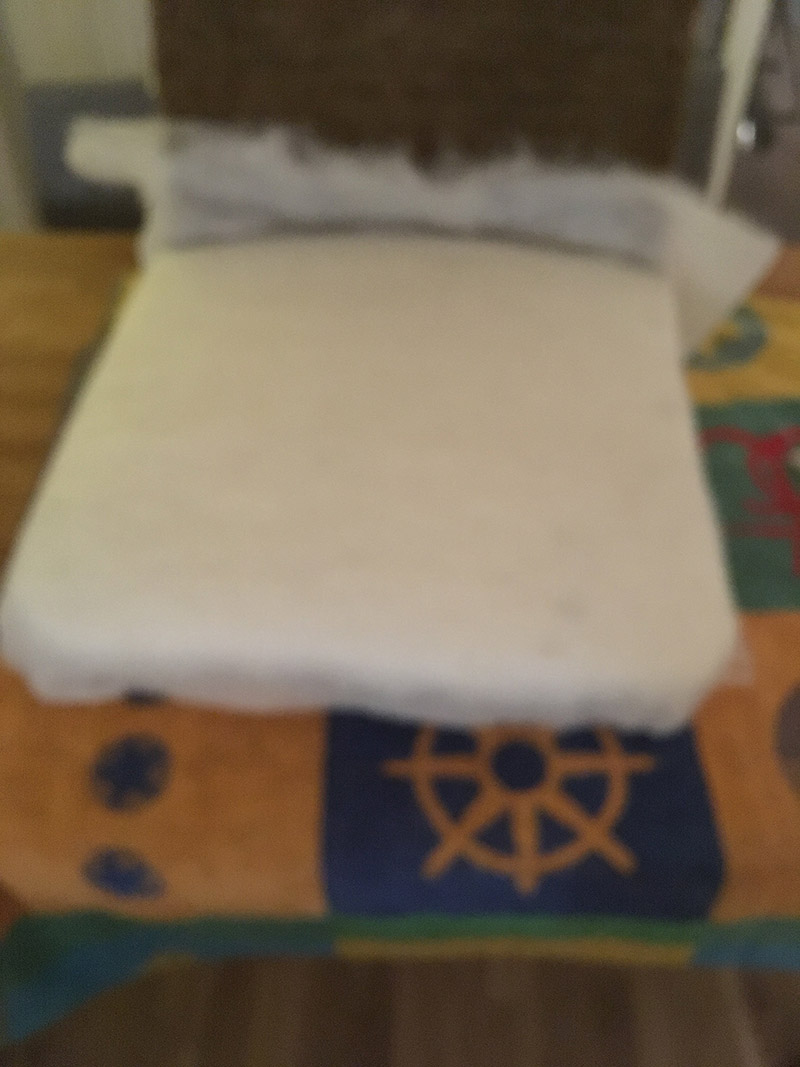
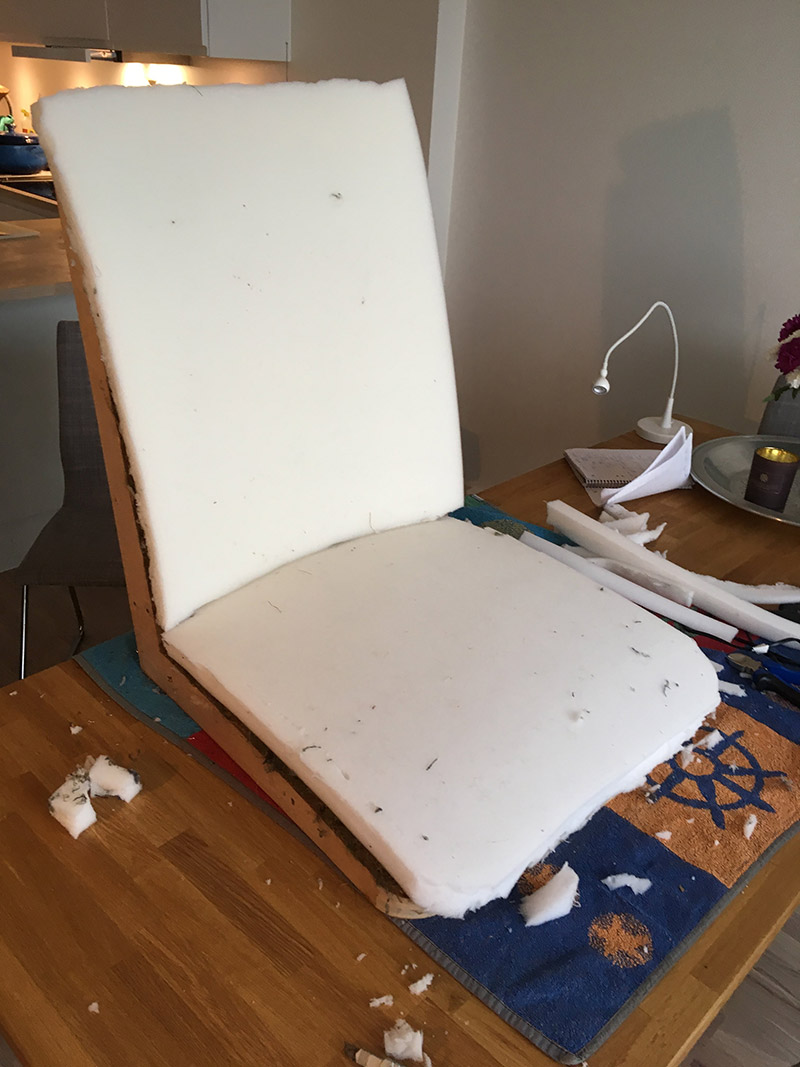 Here, I used the previous furniture filling to get an idea of how to cut the foam. I measured up the foam, drew lines with a sharpie, and did a rough cut of the foam. Afterwards, I put the foam on the chair and made some finer adjustments to it, as you can see in the picture above.
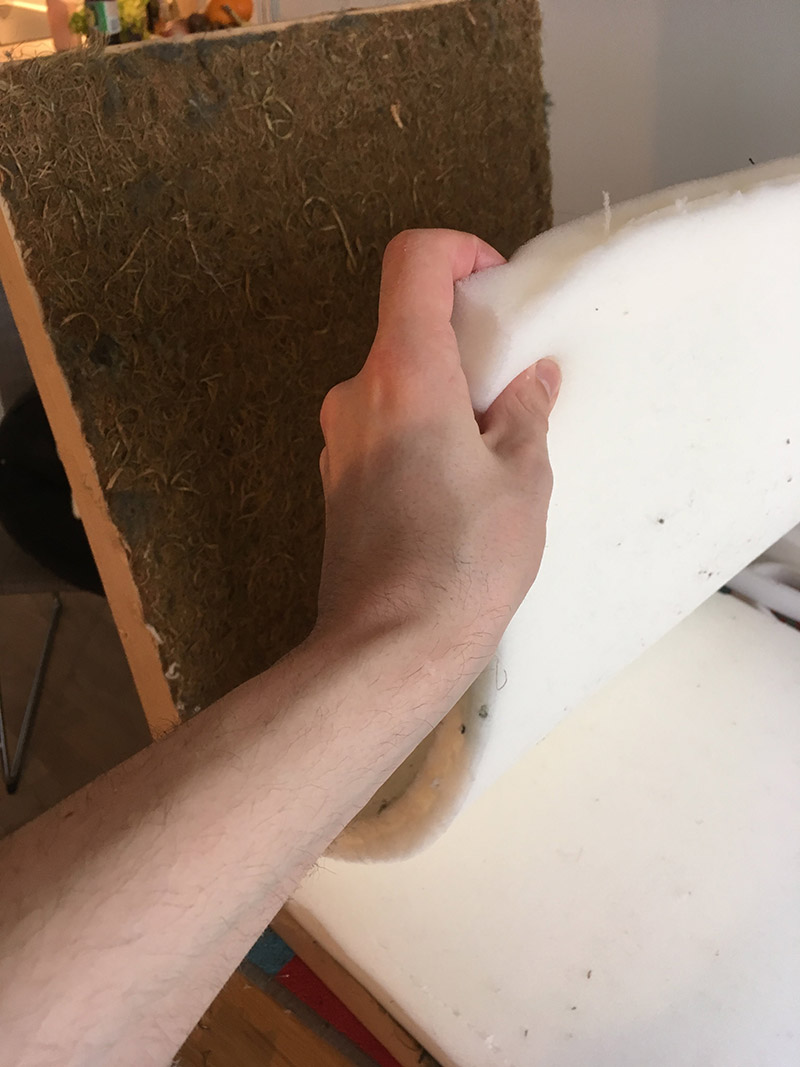
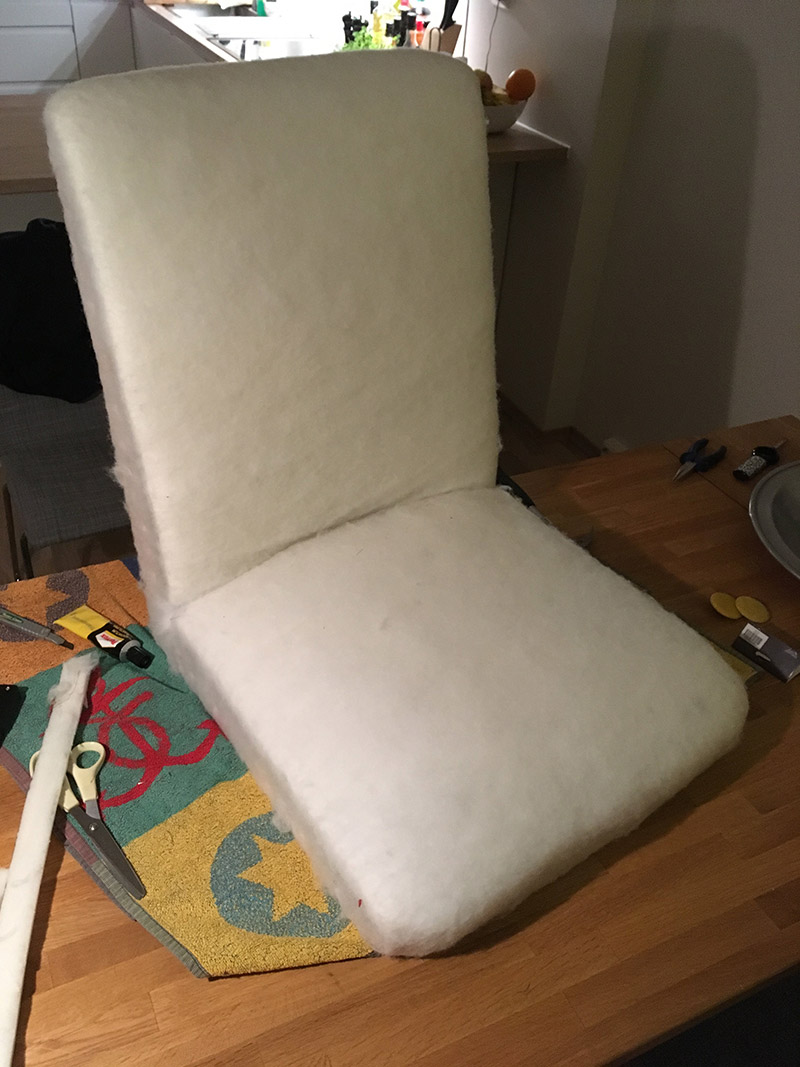
 After I was satified with the foam, I began working on the cotton batting.
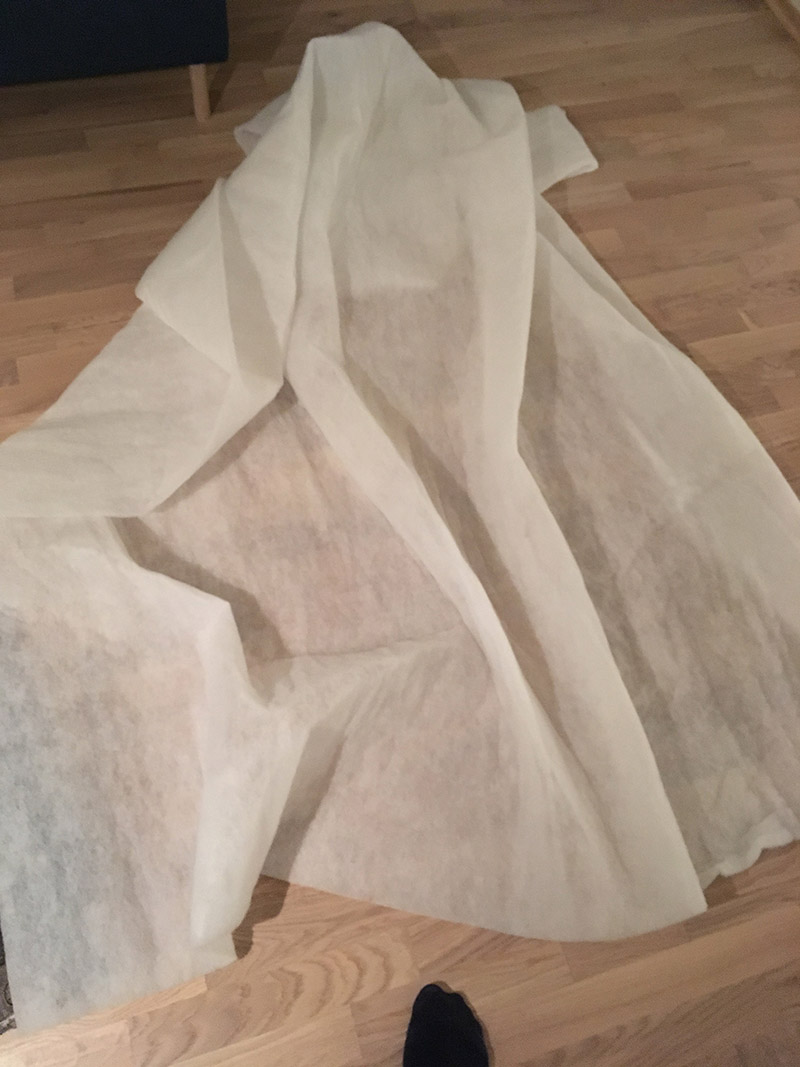
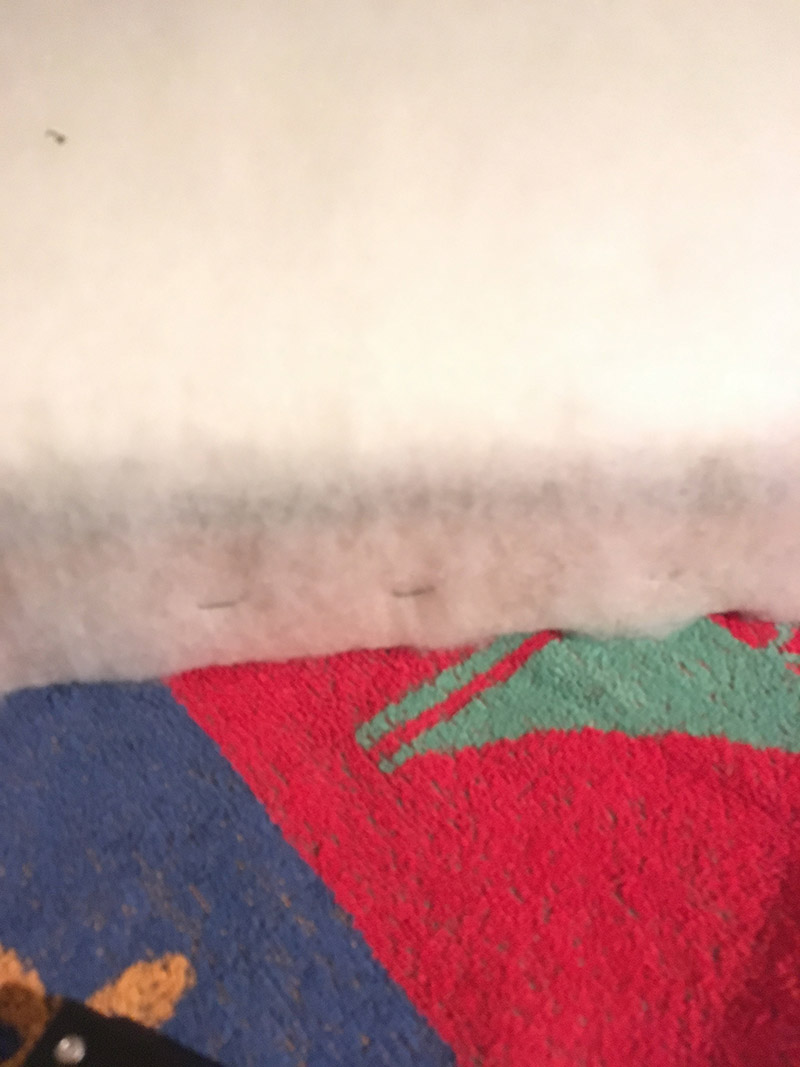
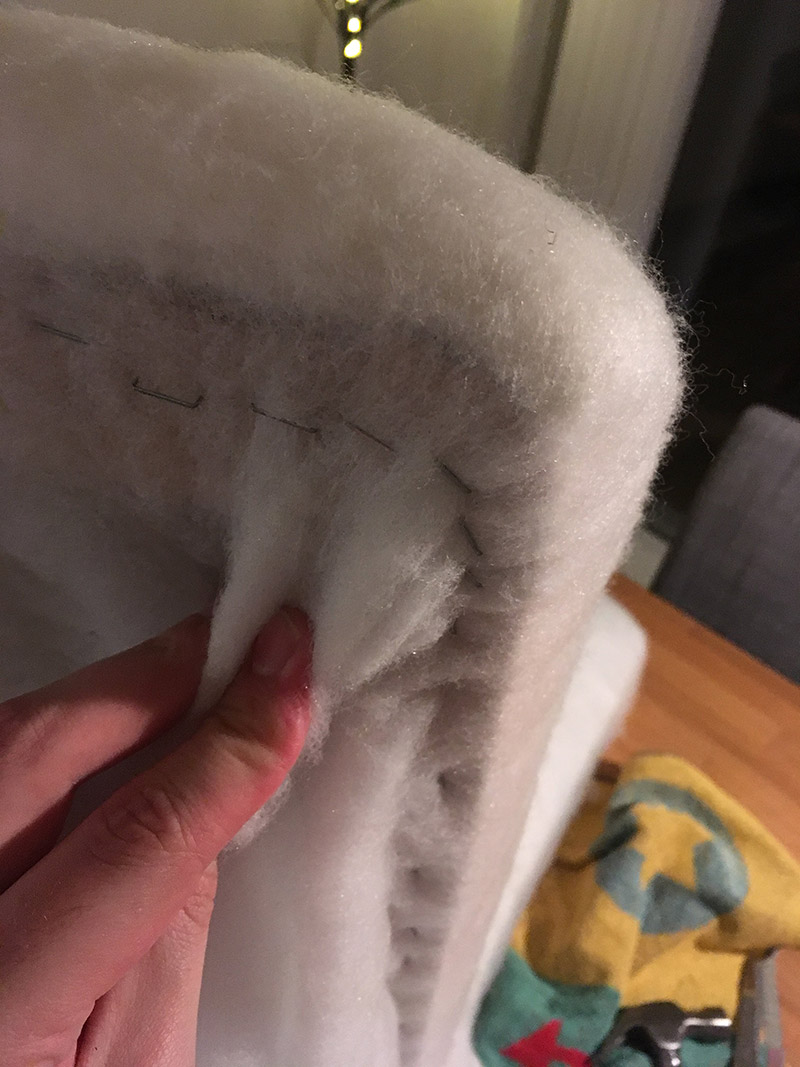
 As you can see, I simply reused the old upholstery to get some rough measurements. I cut two large pieces of batting with scissors, that were more than enough to cover the back and pad. Any excess material I cut away after attaching it to the chair. It also helps having a large margin or seam allowance because the batting has a tendency to tear apart quite easily, and you want to pull very firmly on it when attaching it to the wood frame.
 Having an extra person to pull the fabric does not hurt, here. At least until you can properly attach one side. I started stapling from the middle of one side, pulling, holding, and stapling. I continued this process towards each corner, but would stop around 10 cm from each corner. Then, I switch to the opposite site, doing exactly the same. From the middle, towards each corner. I repeated this for the final two sides, as well. Finally, I secured the corners in a similar manner, pulling and stapling.
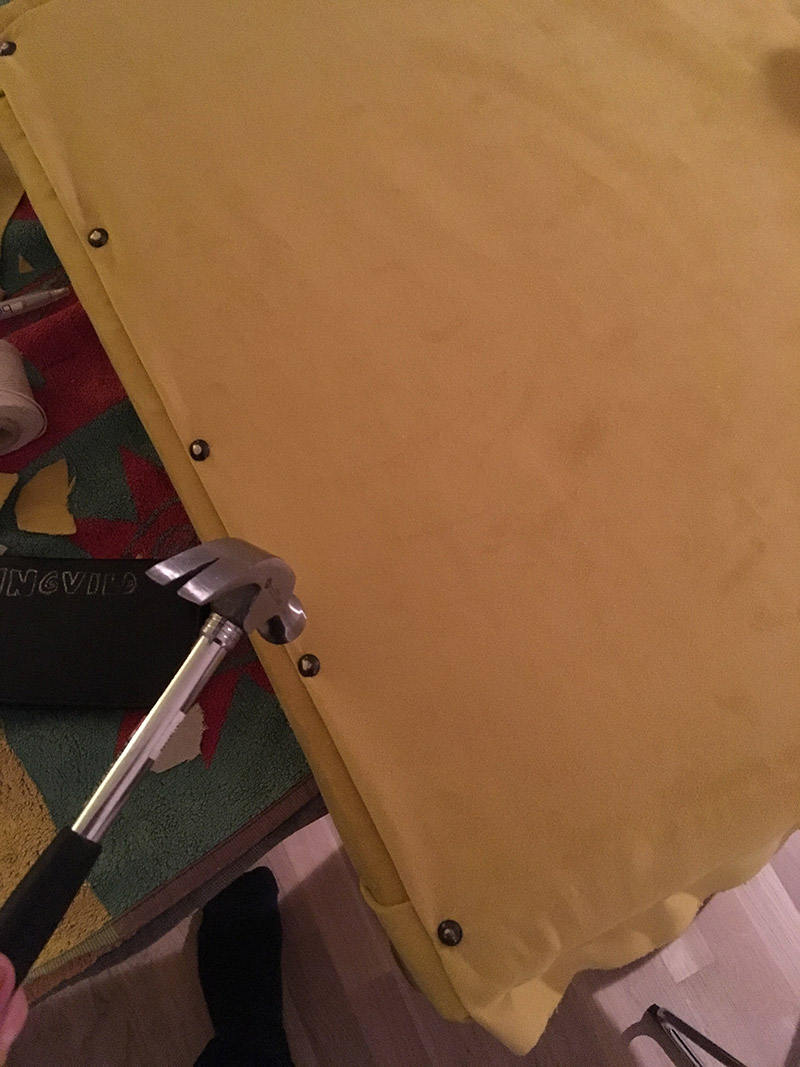
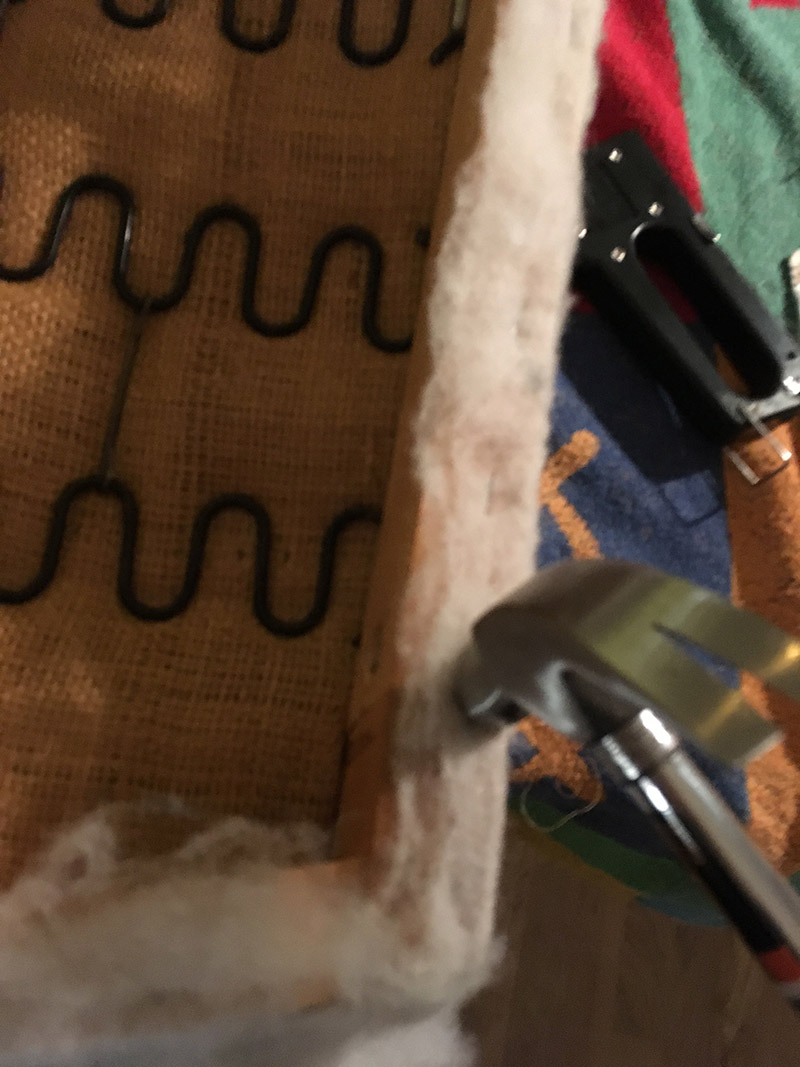 Some of the staples did not go all the way in. So, I used a hammer…
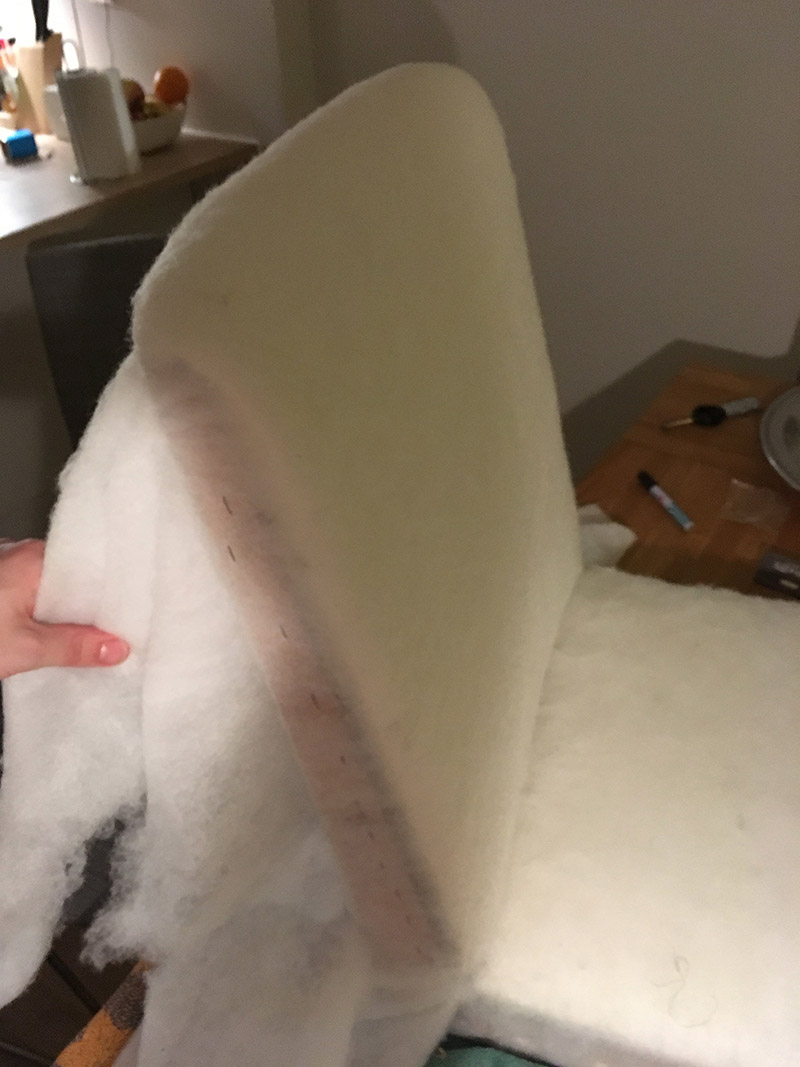
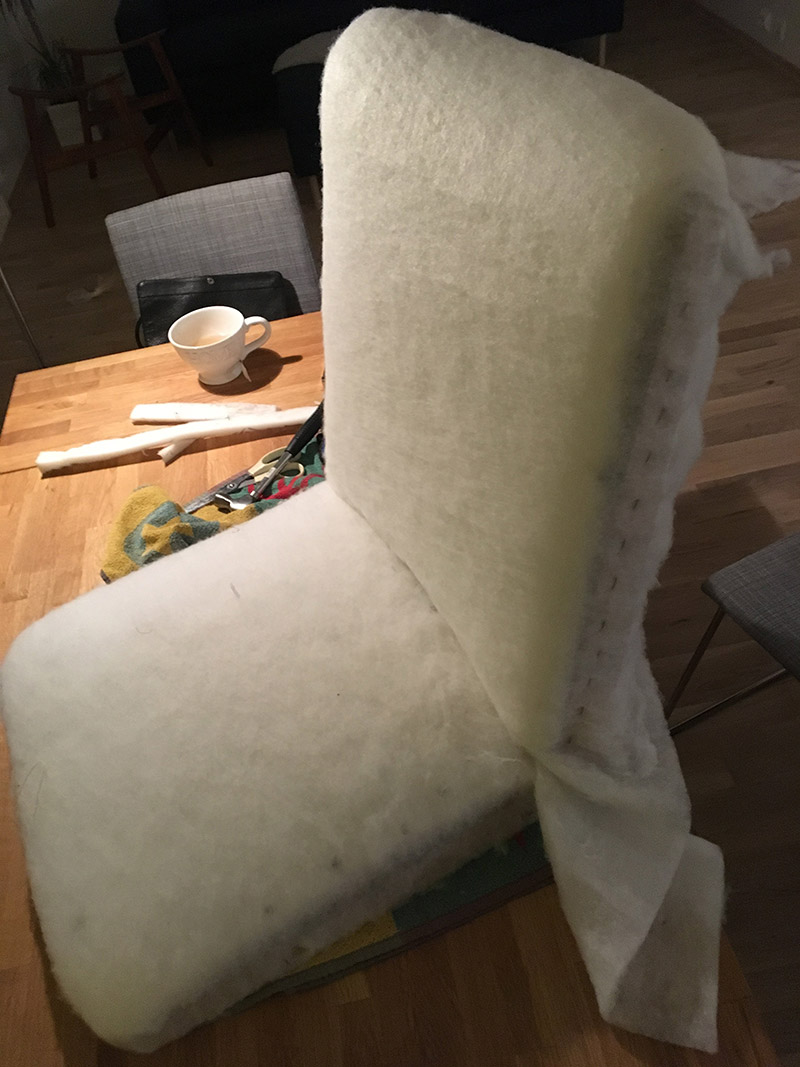
 The foam on the back support is extra long, since it wraps around the top edge of the wood frame.
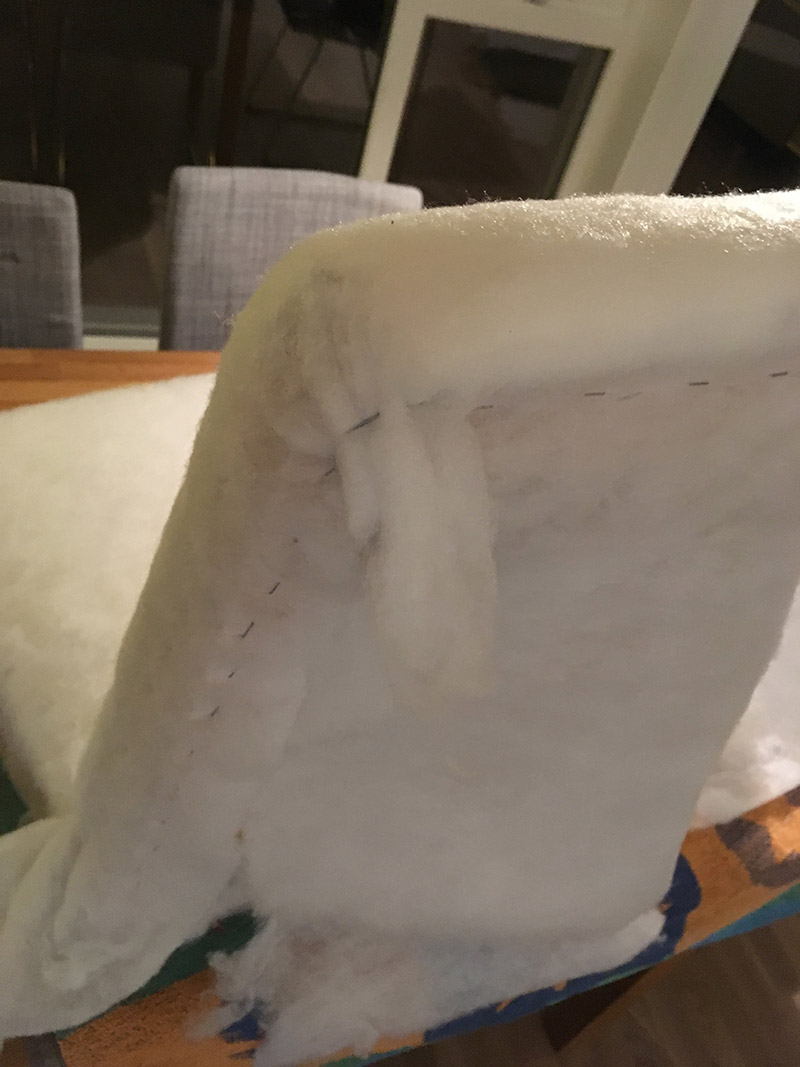
 Again, I pull firmly on the batting before stapling, starting from the center of each side, and work myself towards the corners. In the picture above you see me kind of, trying to, demonstrate it on a completed corner.
 As you can see, a lot of wasted cotton batting.
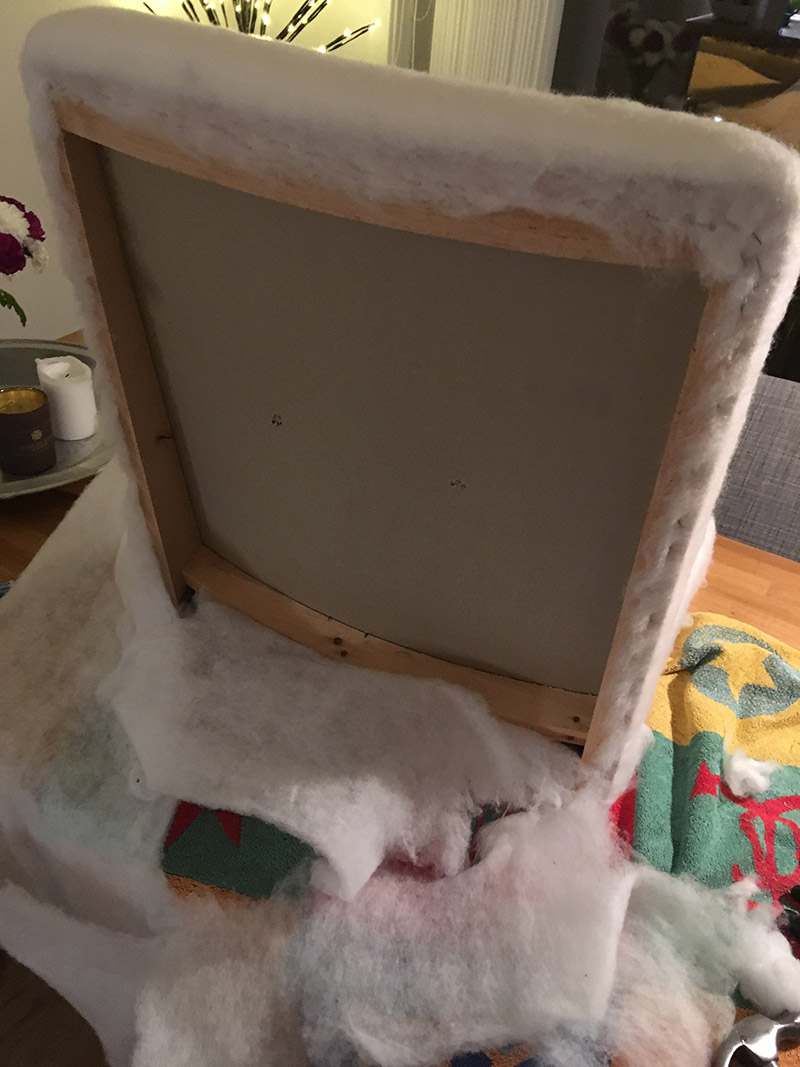 And finally, after having secured the batting to the wood frame, I simply cut away the excess.
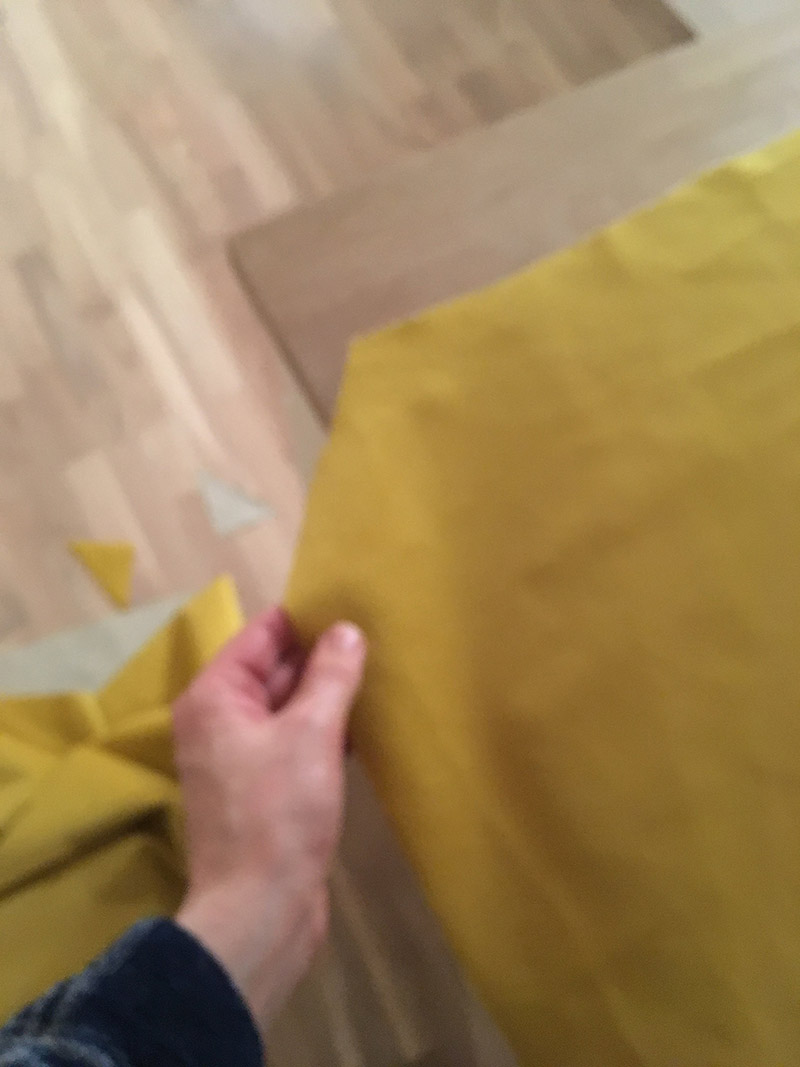
Cutting the Fabric
Basically repeat what you did with the cotton batting, but with much more accuracy. As you can see below, I utilized the previous fabric to measure up and cut the new fabric. I did leave a slightly larger seam allowance, just in case.
 There is not that much magic to it.
Attaching the Fabric with Staples.
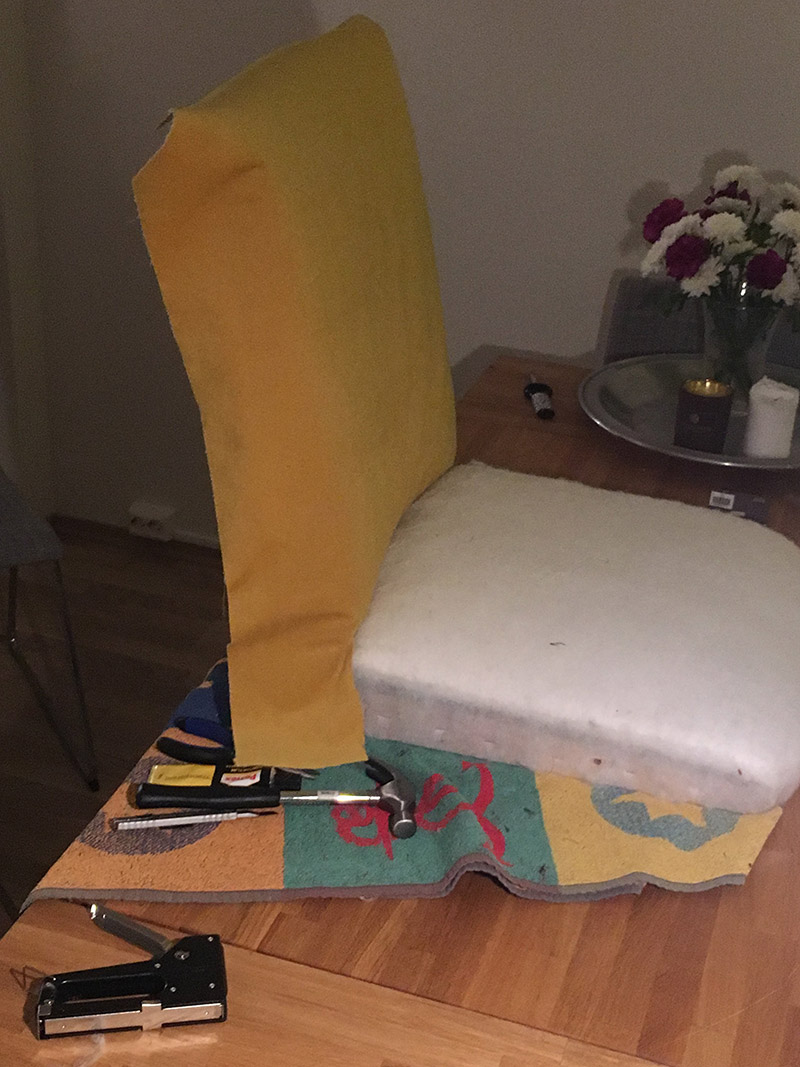 Testing the fit.
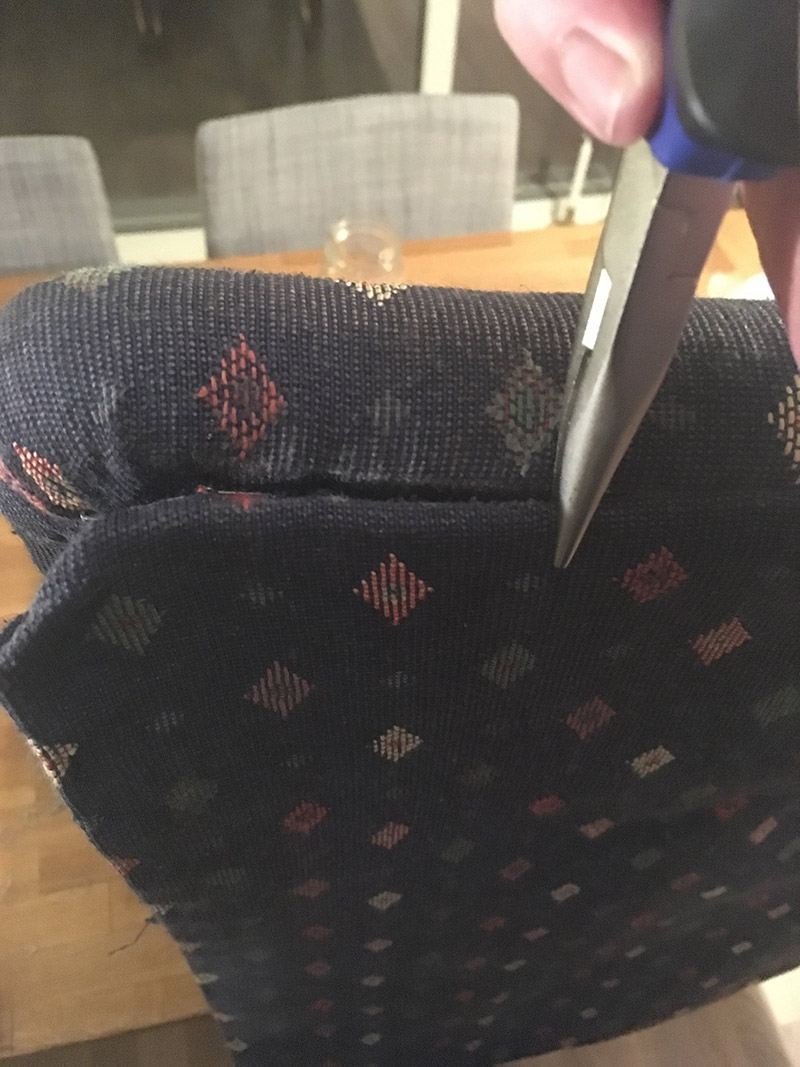
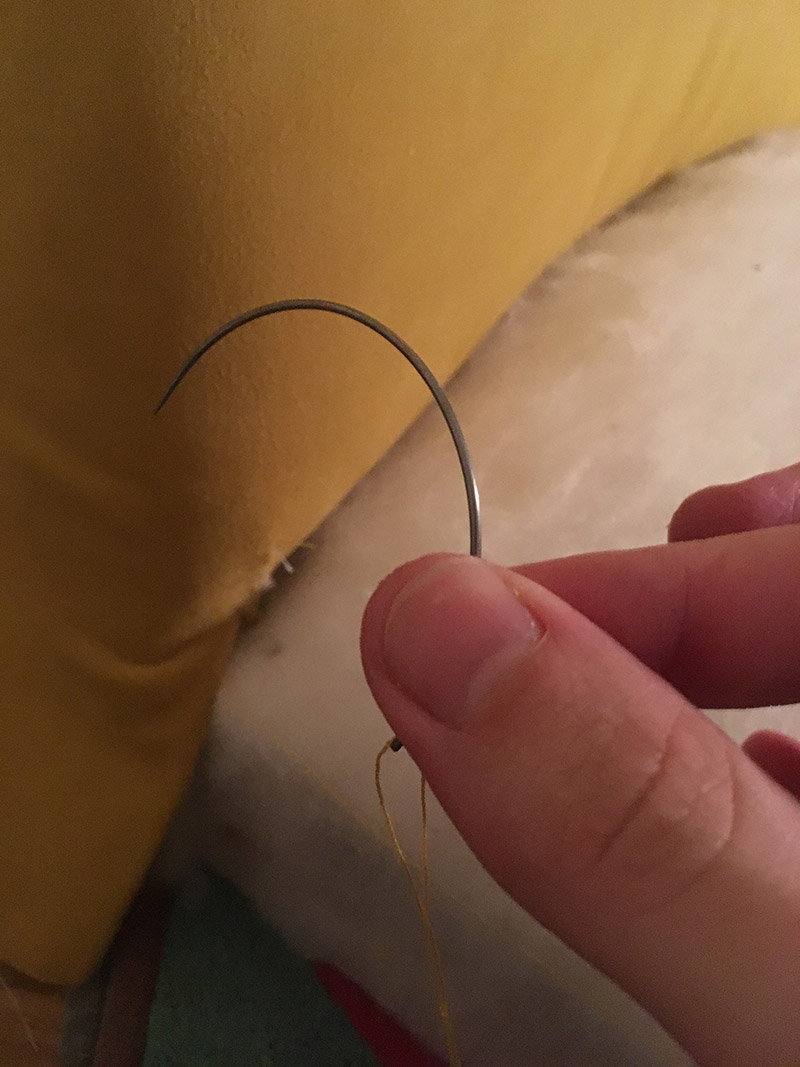
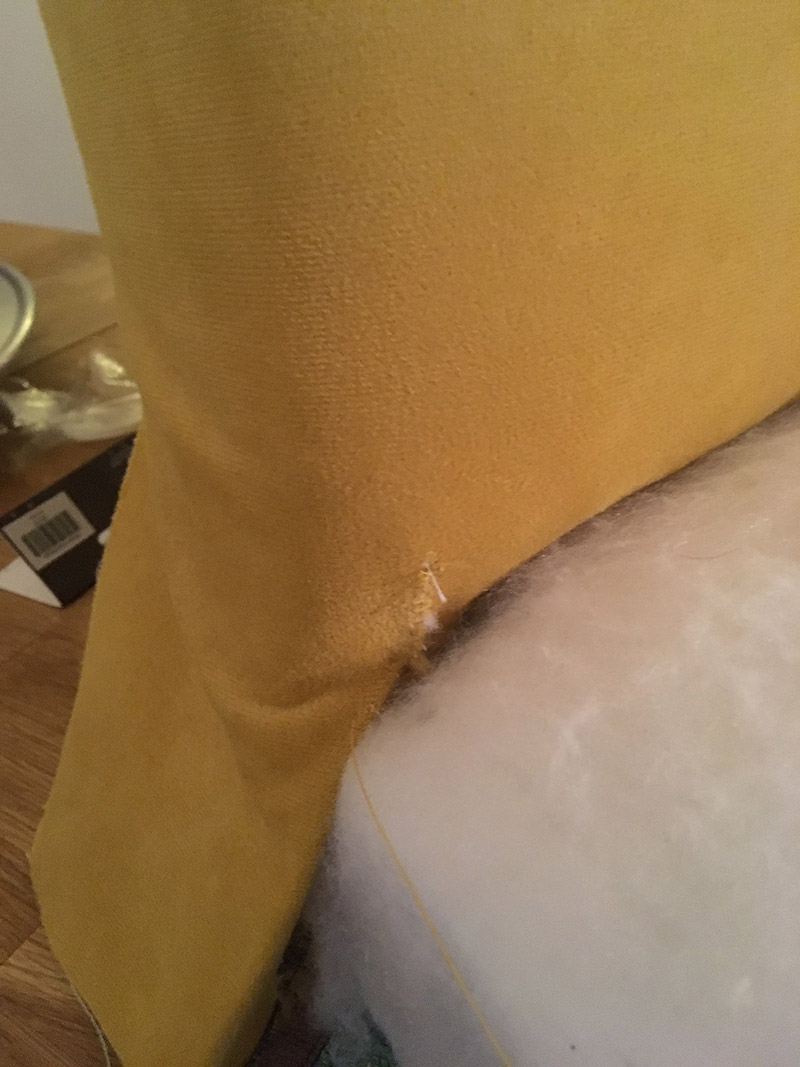 Or maybe there is a bit of magic to it. I managed to rip the fabric while attaching it to the frame, which meant I got to take the curved needle for a spin. The fabric had already been stapled to the wood frame, so it was a bit awkward sewing the rip.
 The process here is exactly the same as for the cotton batting. From the middle, towards each side. Corners last. The only difference is that inaccuracies are now visible, so pull harder!
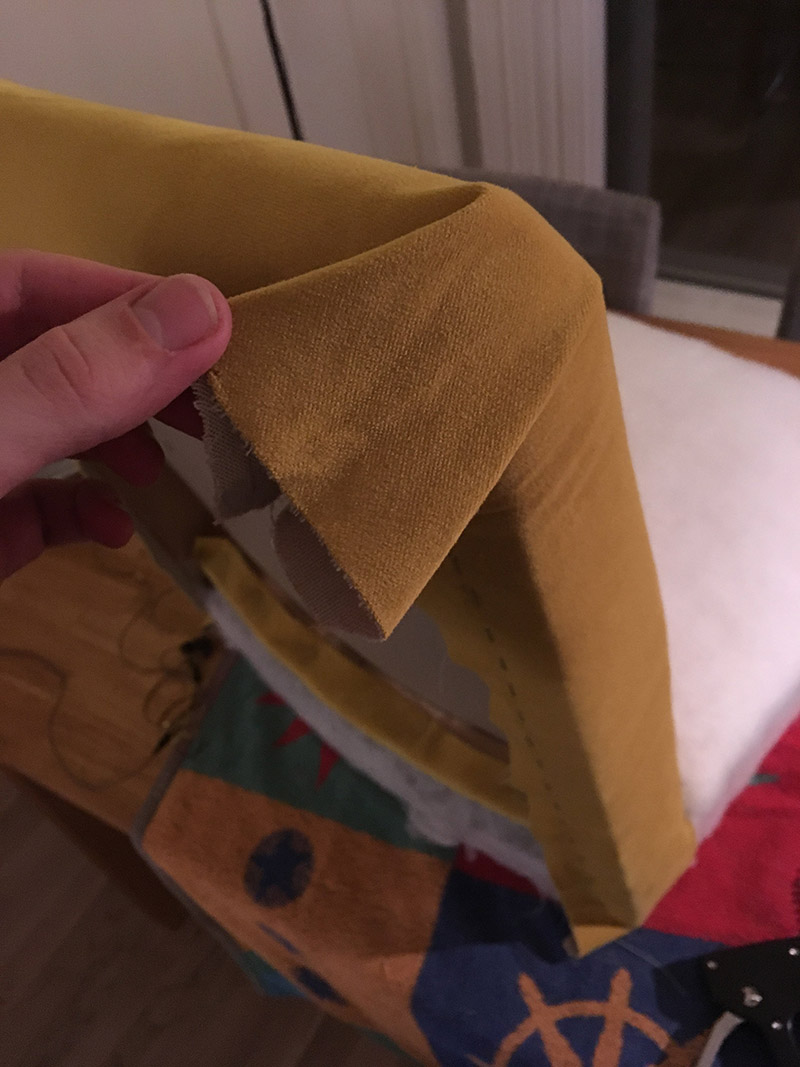
 As you can see in the pictures above, I tried to fold the corners in a consistent manner.
 I did end up having to cut some excess fabric. Especially from the corners.
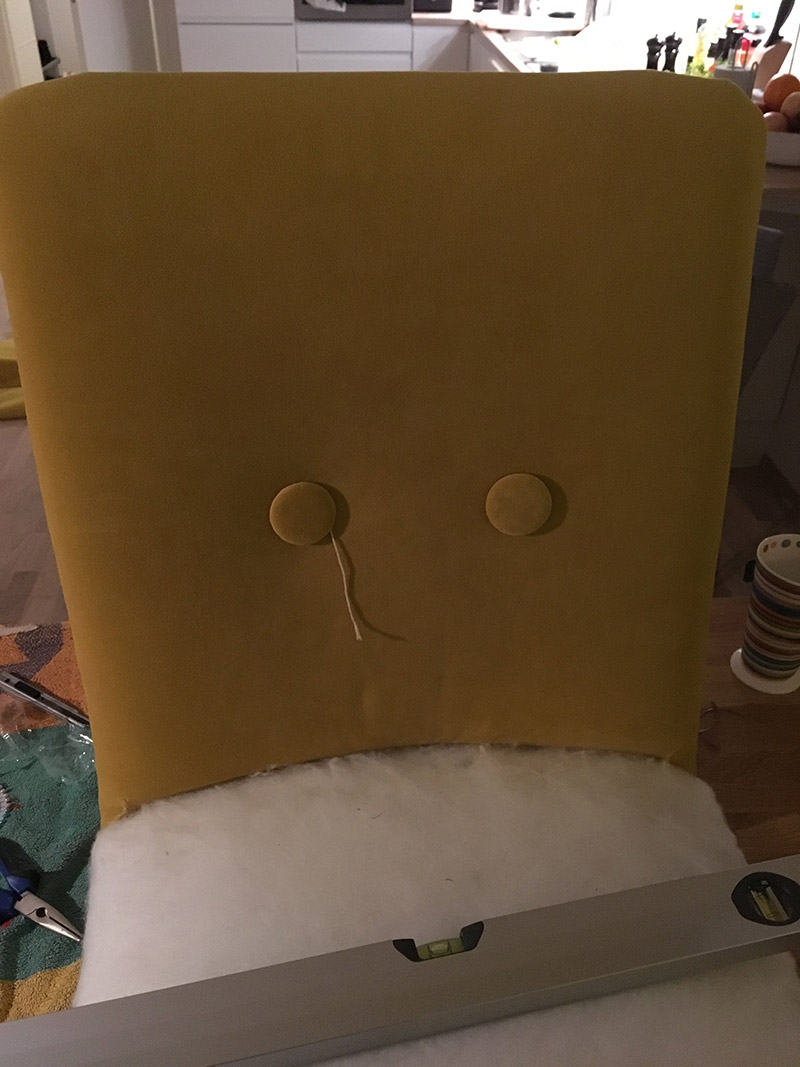
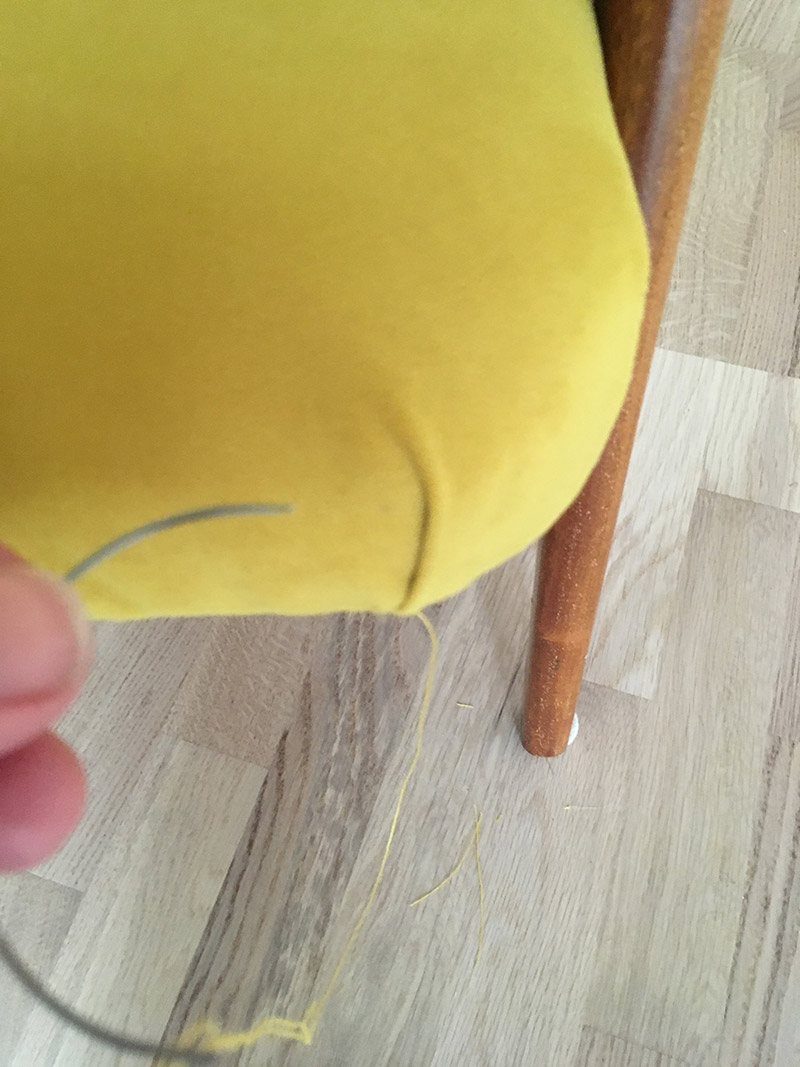
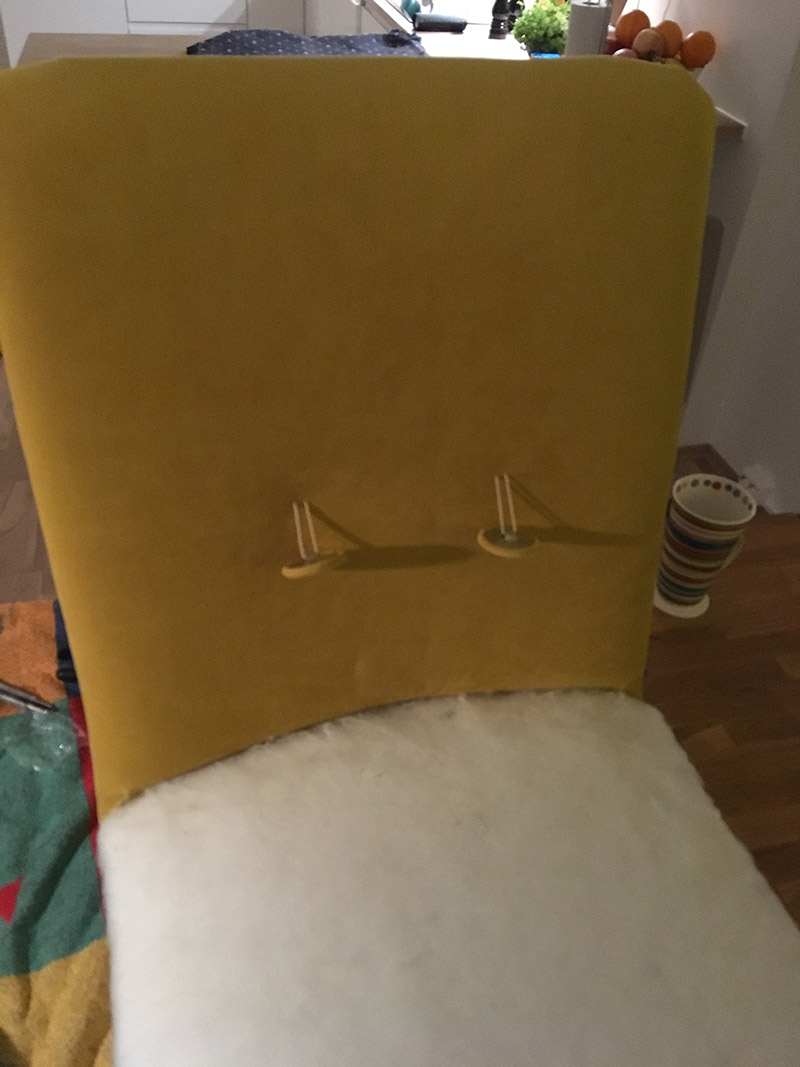 I threaded some string on a needle, and poked holes in the fabric at around the same spots of the previous buttons. I did utilize a level and measuring tape to get the buttons on a pretty straight line.
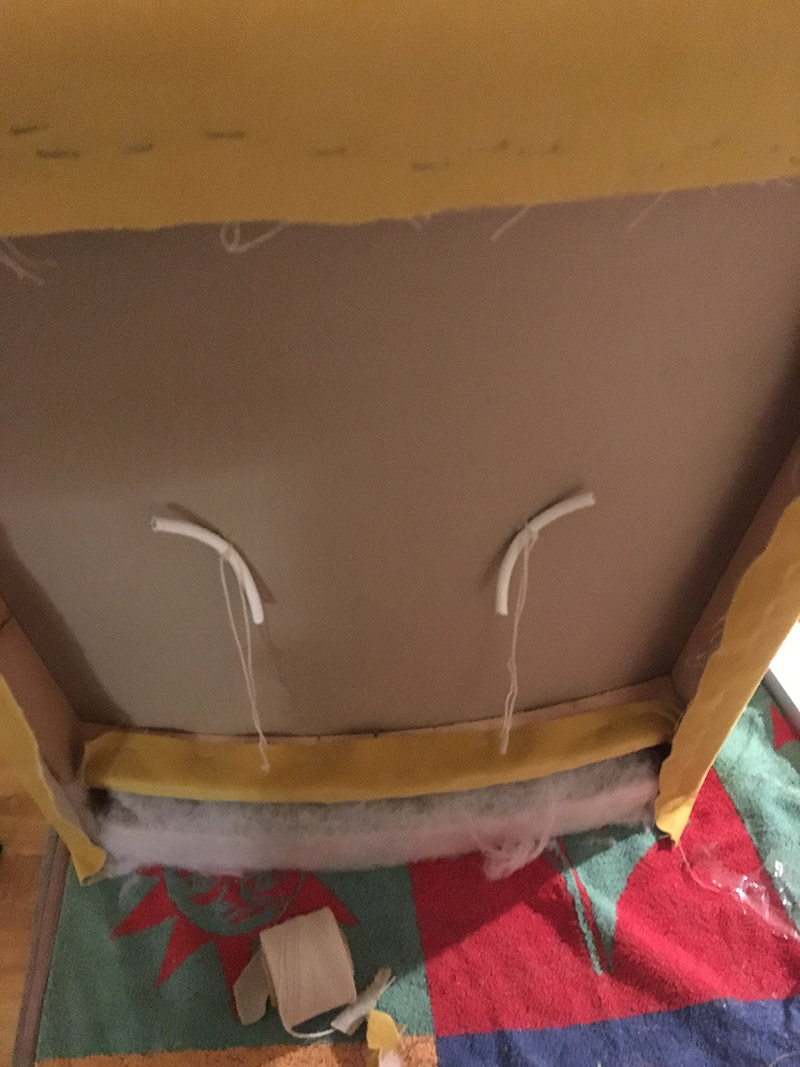 To use pieces of electrical wire to secure the buttons was actually a pretty smart idea. Had to copy that.
 You can now start to see some flaws in the upholstery work. Either I did not pull hard enough when securing the bottom side of fabric on the chair support, or I might have put too little stuffing in. Not sure why. There are also some issues on the bottom front of the chair pad.
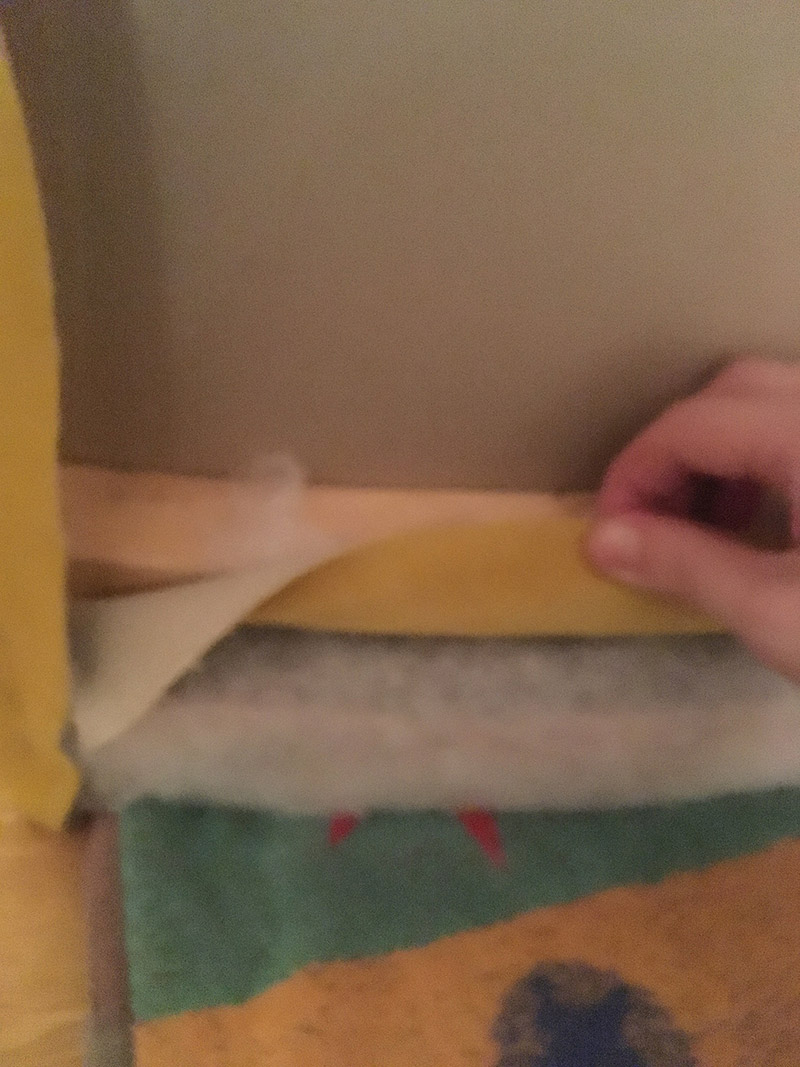
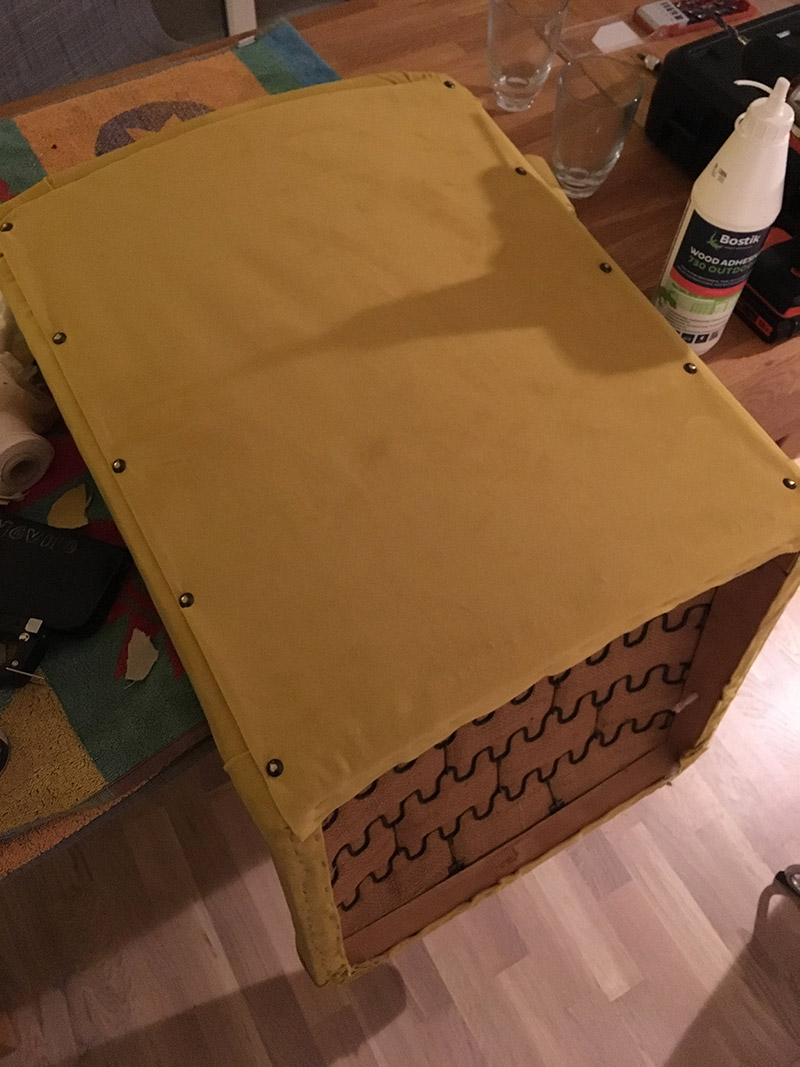 The next step, was to reattach the cardboard plate. As you hopefully can kind of see (sorry, for the lack of pictures!), is that the fabric is wrapped around the plate, except for at the bottom. the fabric and plate were secured to the chair frame by staples and upholstery nails.
Assembling the Chair Back Together
 Basically, I glued the base of the chair, and screwed the base and chair together in one go. I let the glue dry overnight.
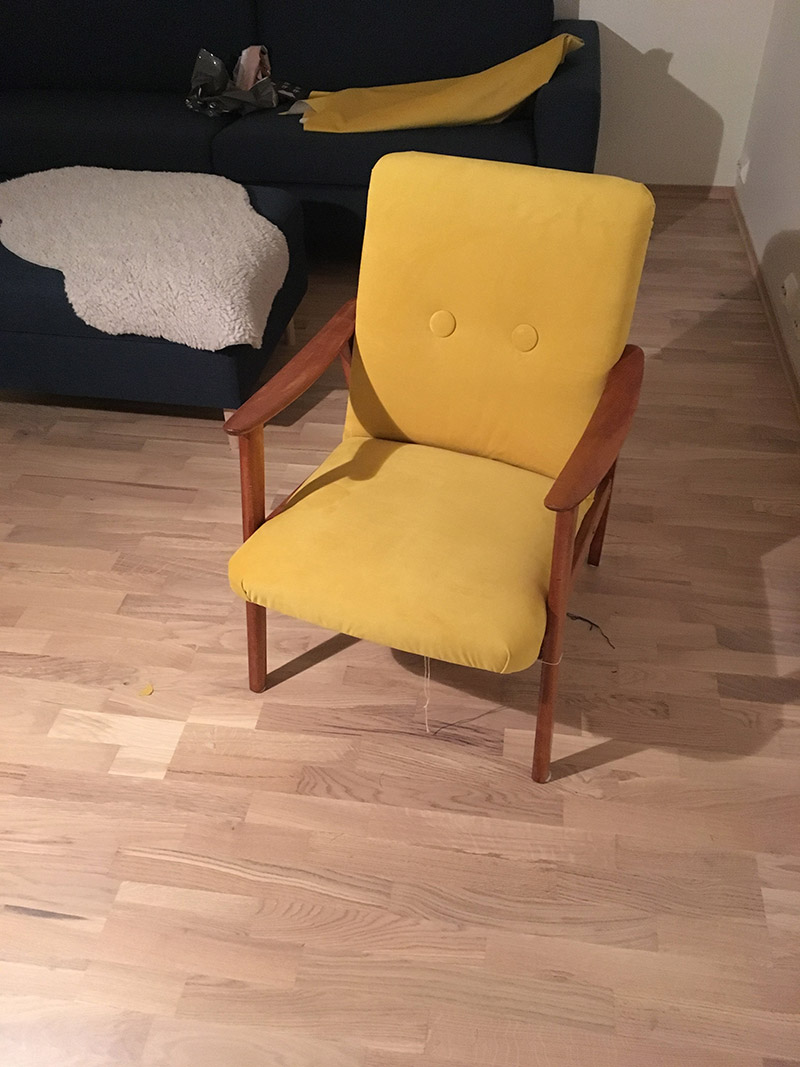
Final Polish
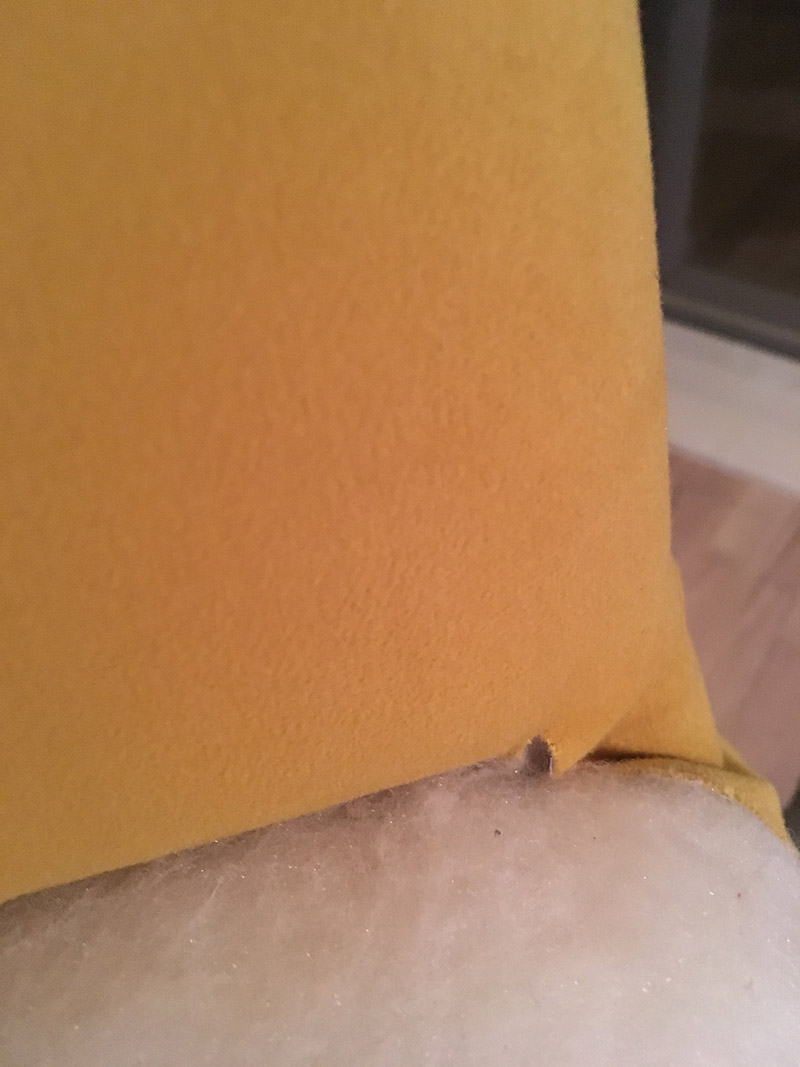
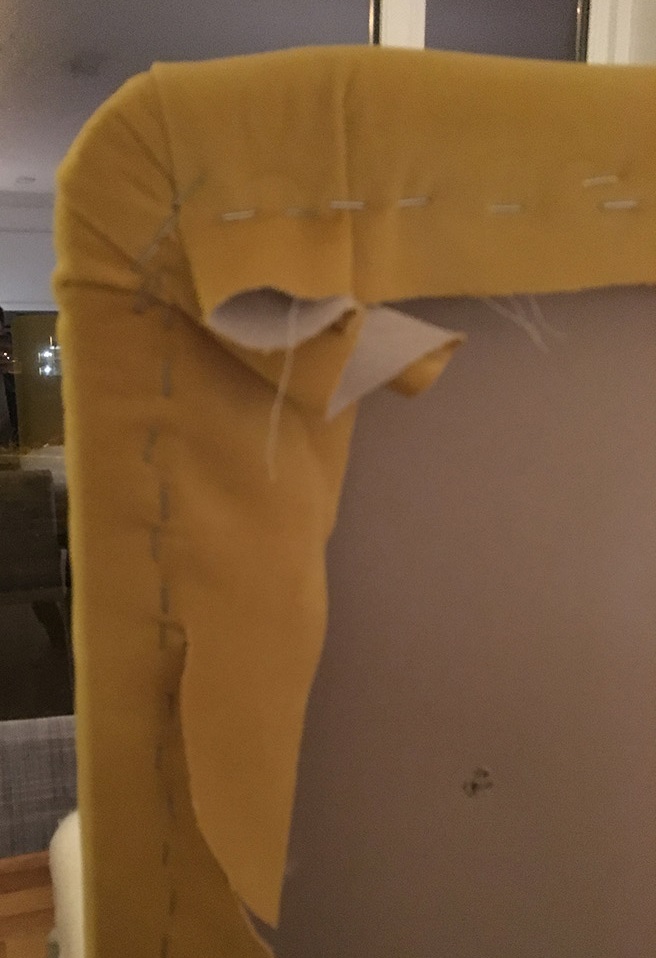
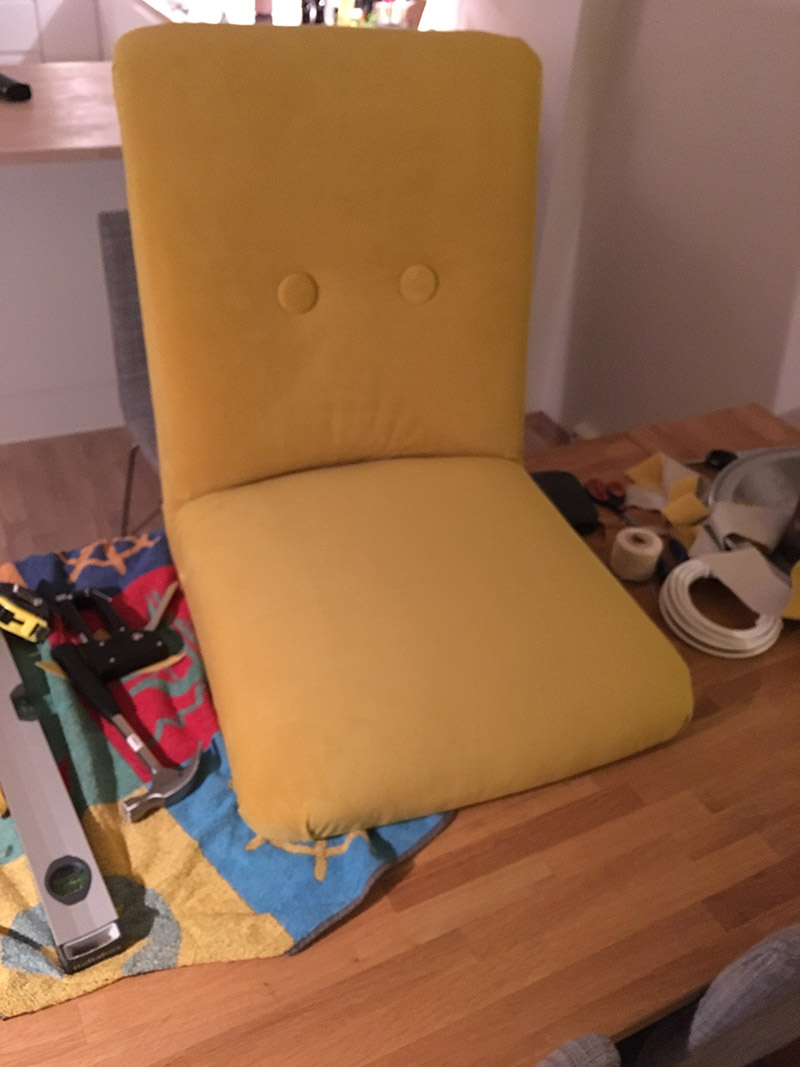
 Each corner has two prominent folds, that almost create hidden pockets. As a final polish I sewed these shut with yellow denim thread.
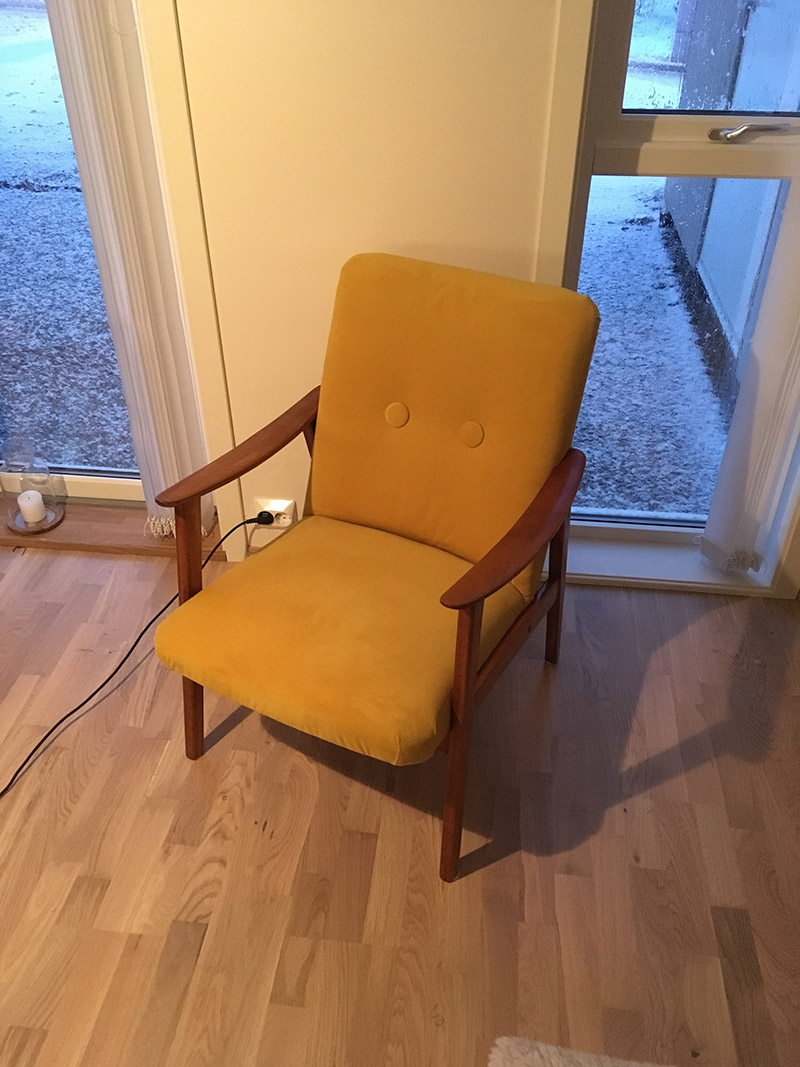
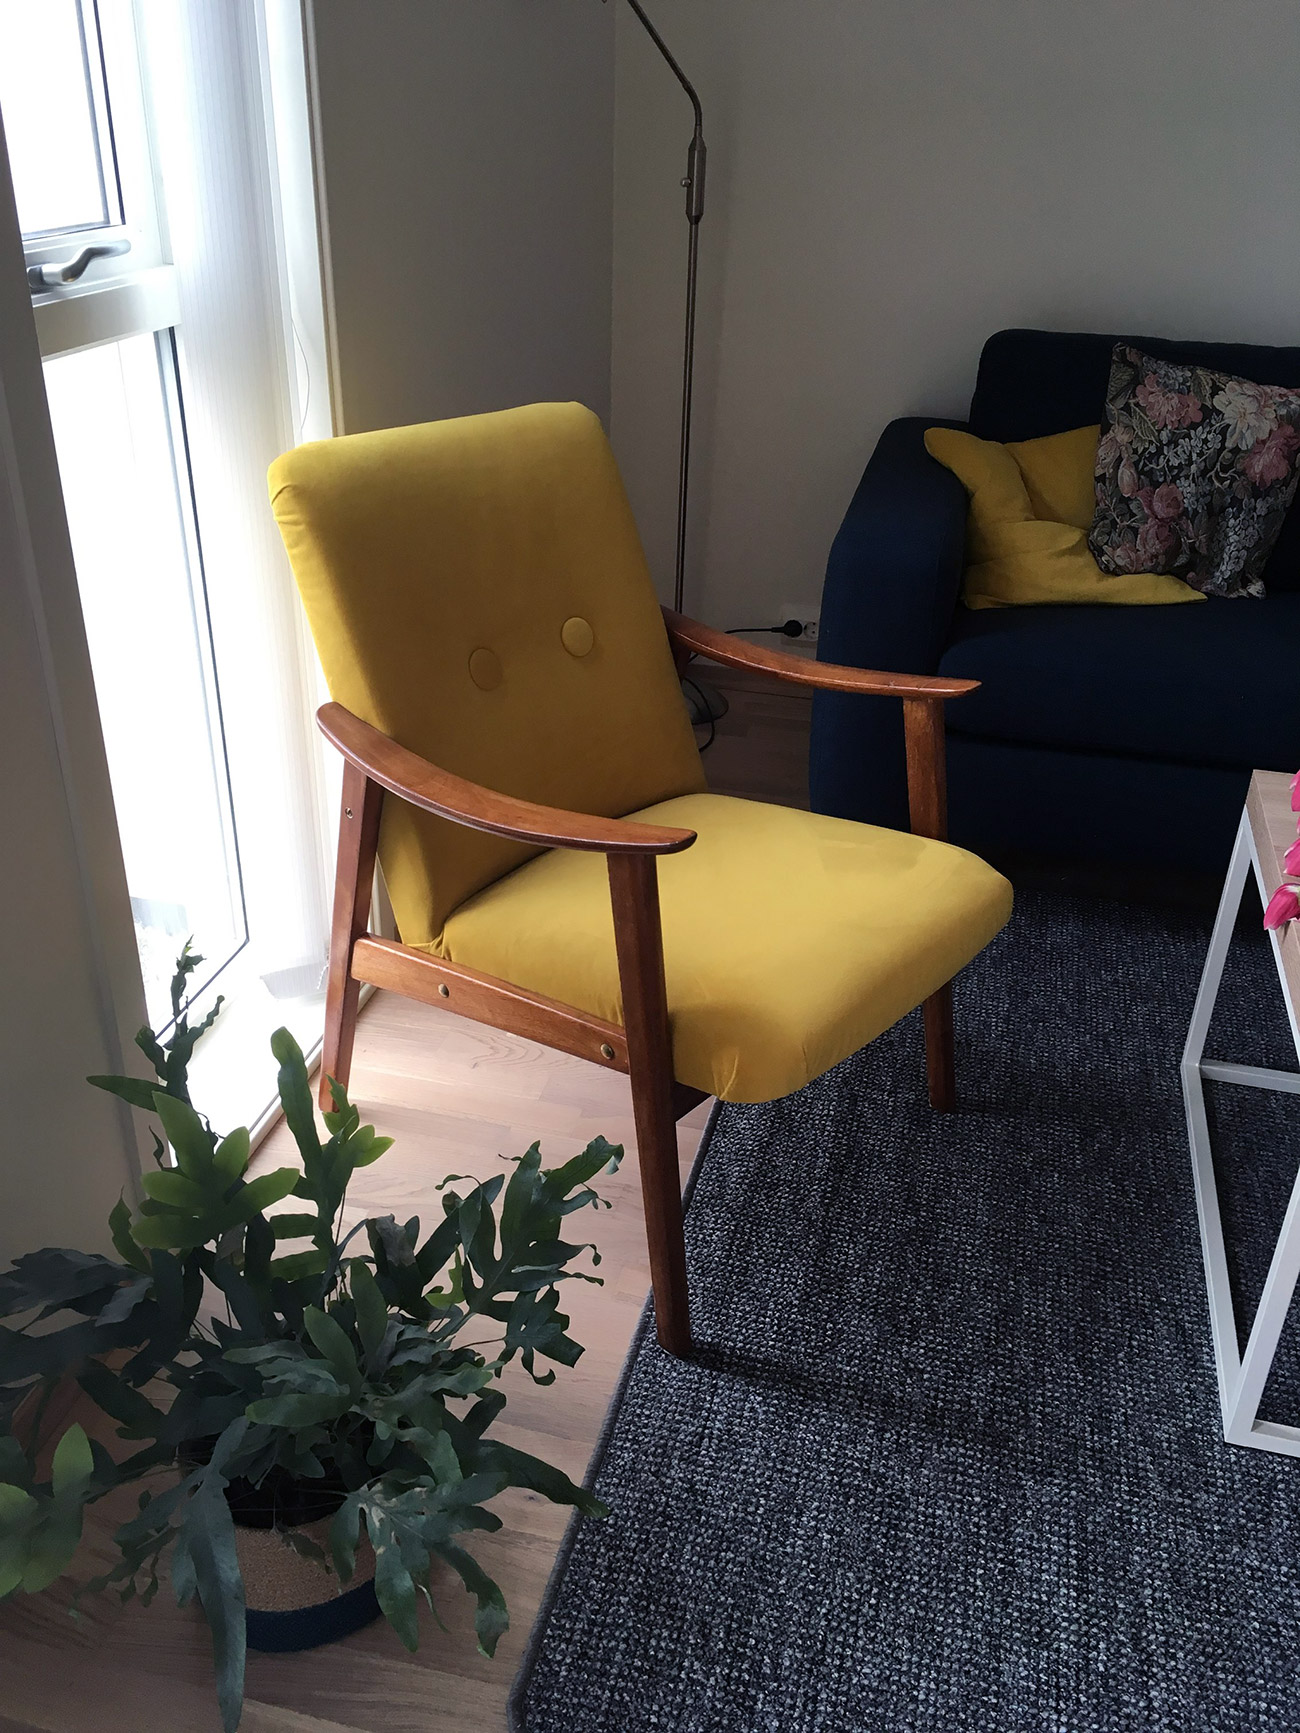
And with that, the living room became one yellow velour chair richer. It was a fun project to do, and it resulted in something unique. The chair took around a week to do, has some blemishes, but looks pretty good considering it is the work of a complete novice.
Thanks for reading!