UV Mapping in Blender for Unity
01 Jul 2017Just learned how to do UV mapping in Blender, and thought I should write it down before I forget. Currently, I’m doing the Learn 3D Modelling course at Udemy. I’m now past the basic modelling stuff, and wanted some practice. I decided to do a chessboard, and yup, you guessed it, not that challenging since it’s basically a square shape. It does not look anything like a chessboard, without the checker pattern.
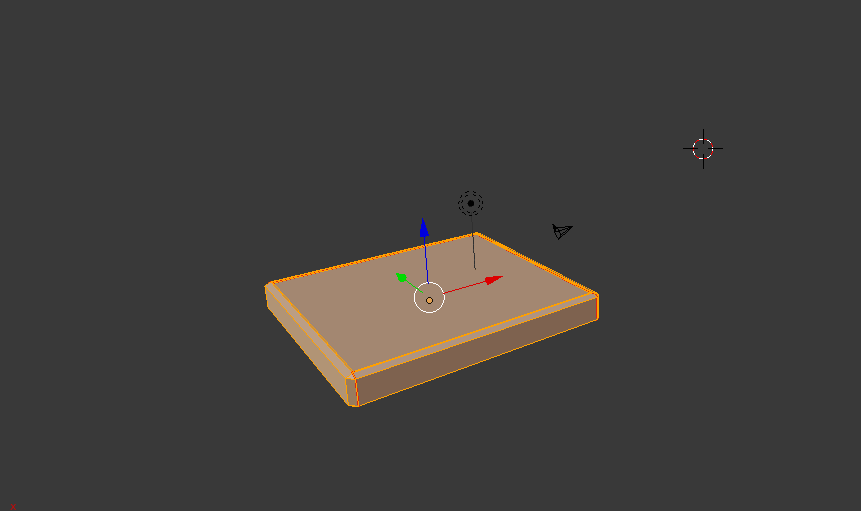
So I decided to try out UV map painting, to see if I could turn this nondescriptive shape into a bona fide chessboard.
UV Mapping in Blender Recipe
1. Adding Seams
- The 3D model is complete and texturing is the next step. Your first step is to create seams to help Blender unwrap your model’s surface onto a flat plane. The plane area is where you’ll do the painting later on.
- Enter edit mode
<TAB> - Open the tools section in the left sidebar
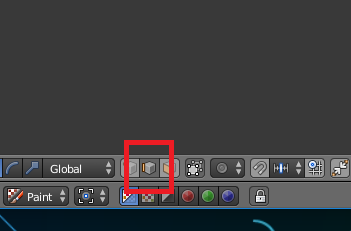
<T>of the 3D View - Pick edge select mode to select seams on your model.
- Select edges that you want to convert to a seam. A loop selection of edges will create a disconnected island, which is good, when organizing the UV map later on. Create several of these. For instance, the chessboard was split by 4 seams. Top, bottom and two of the sides.
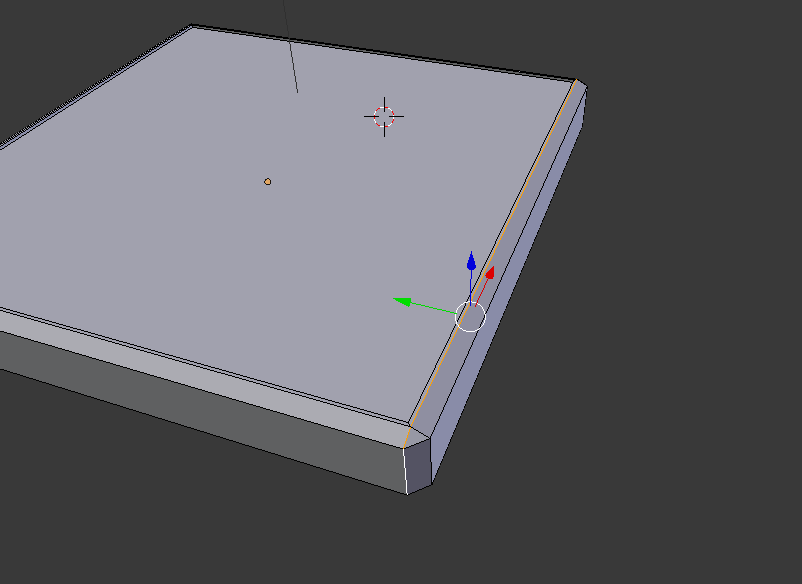
- To create the seam, scroll down in the
Shading/UVssection of the tools side panel, and make a seam when you are satisfied with an edge selection. You will find a button calledMark Seam.
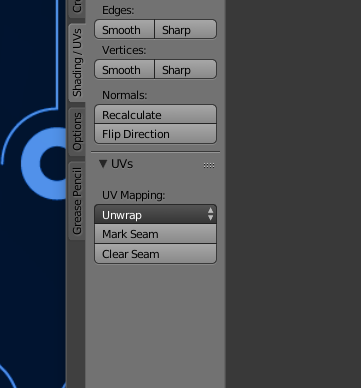
- After you’ve created some seams, select the entire model in edit mode by pressing
<A>. Then, clickUnwrap.Again, clickUnwrapin the drop down which will appear immediately after.
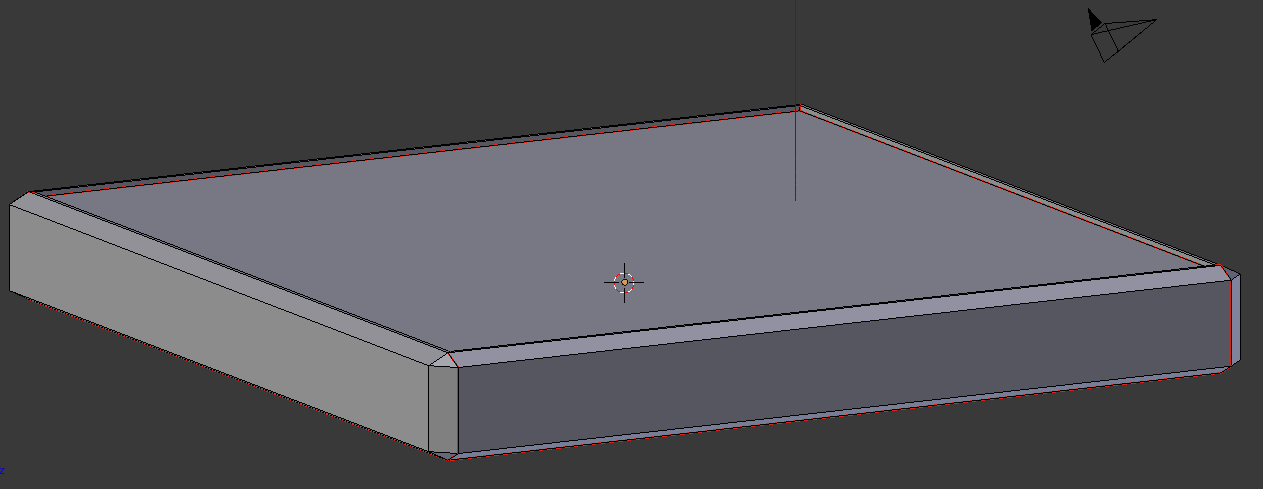
2. Clean the UV Map
- Open a
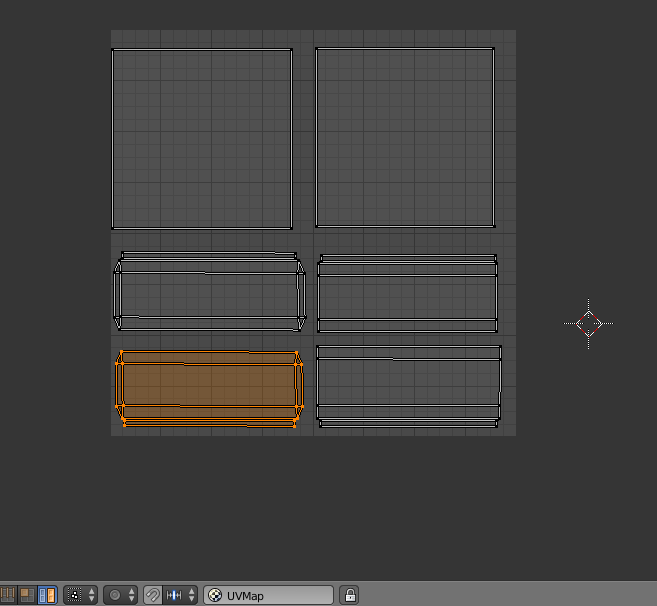
UV/Image EditorView. You will probably see something similar to this:
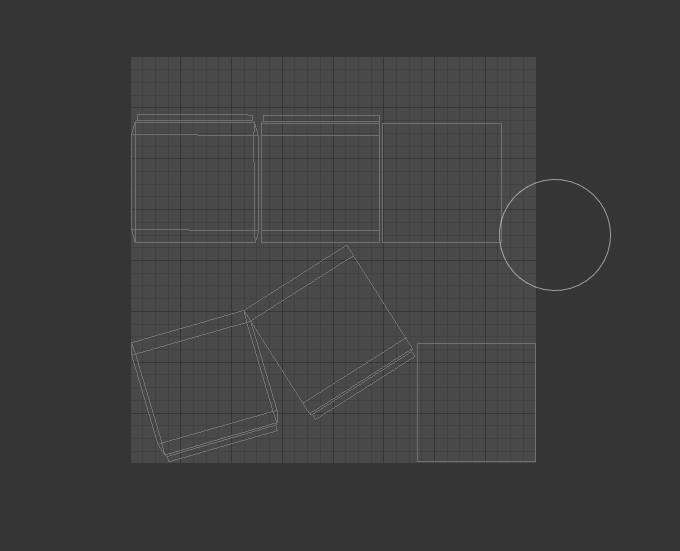
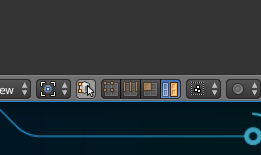
- To see if all the face sections are disconnected, use the
island UV selectiontool. Right click on each face and see if only that face section is highlighted.
-
As you can see, two of the faces are still connected. To separate them select all the polygons of one section using the
UV face selectiontool and press the<Y>key. Use the grab tool<G>to see if the area is separated. More details here. -
Then, reorganize the UV map by rotating, scaling and moving UV islands. The shortcuts are
<R>,<S>, and<G>key, respectably.
3. Create the Texture and UV Layout Image
- Go to the
Texturetab. Create a new texture. - Change
Typefrom none to Image or Video - In the
Imagesection, click new. Create a new image with width and height of 2048 and select a white color. Give it a sensible name. For instance, chessboardtex. - Then, in the
Mappingsection, changeCoordinatto UV , and find the UV map in theMapdrop down. - Go to the
UV/Image Editor, select chessboardtex in the menu that appears after clicking the image icon in the toolbar. The white texture image will appear in the background of the UV map.

- The
Imagemenu item now has an asterisk. This is because you have not saved the image yet. Use theSave As Imageoption. - If you want to do the UV paining in an external program, such as Photoshop or Gimp, you’ll probably want the UV layout as a reference when painting. Press
UVsand in the menu, selectExport UV layout.
4. UV Paining
- Open an image editor (Photshop, Gimp or similar). Add the saved texture image and the UV layout image on top, in a new layer.
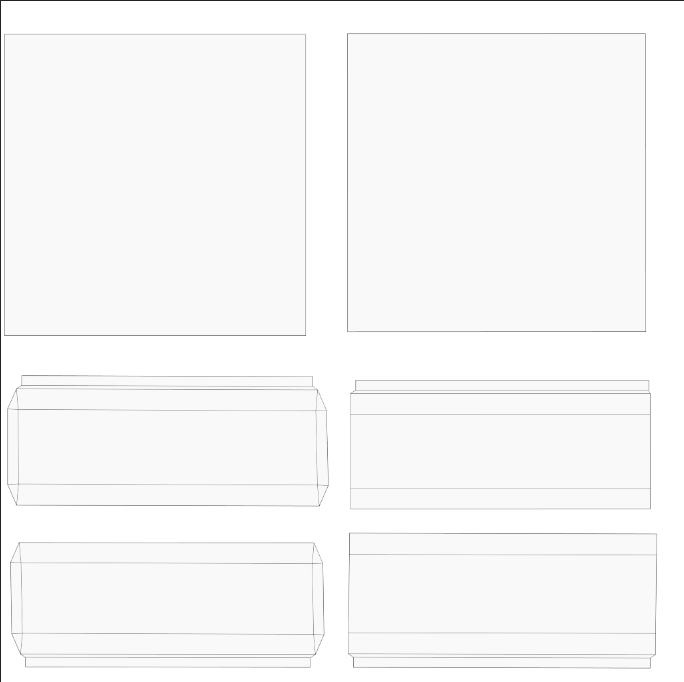
- Go wild painting. Below is my finished chessboard texture.
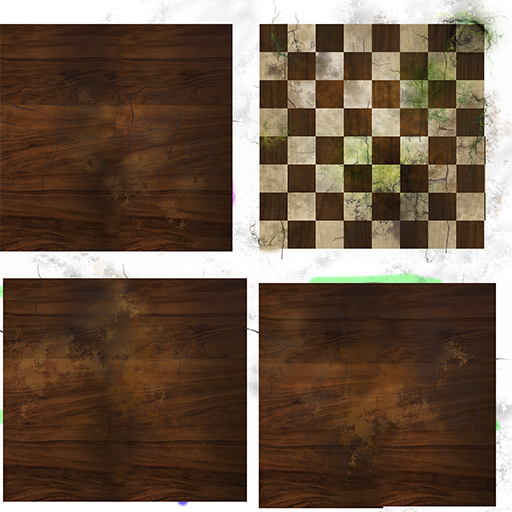
- In Blender’s
UV/Image Editor, goImageand pressReload image, to see the updated texture on your 3D model.
5. Add Model to Unity
-
When you’re satisfied with the result you can save the model as a .blend file somewhere in the assets directory of your Unity project.
- But where did the texture of the model go in Unity? Remember to copy the texture image into the Assets folder. You need to tell Unity to use the image for the model. I’m not sure if there is a better way of combining the texture and model into a single file, but the following seems to work fine.
- Adjust the material settings on your model. For instance, pick the
Mobile/Bumped Diffuseshader, and select the imported texture image underBase (RGB).
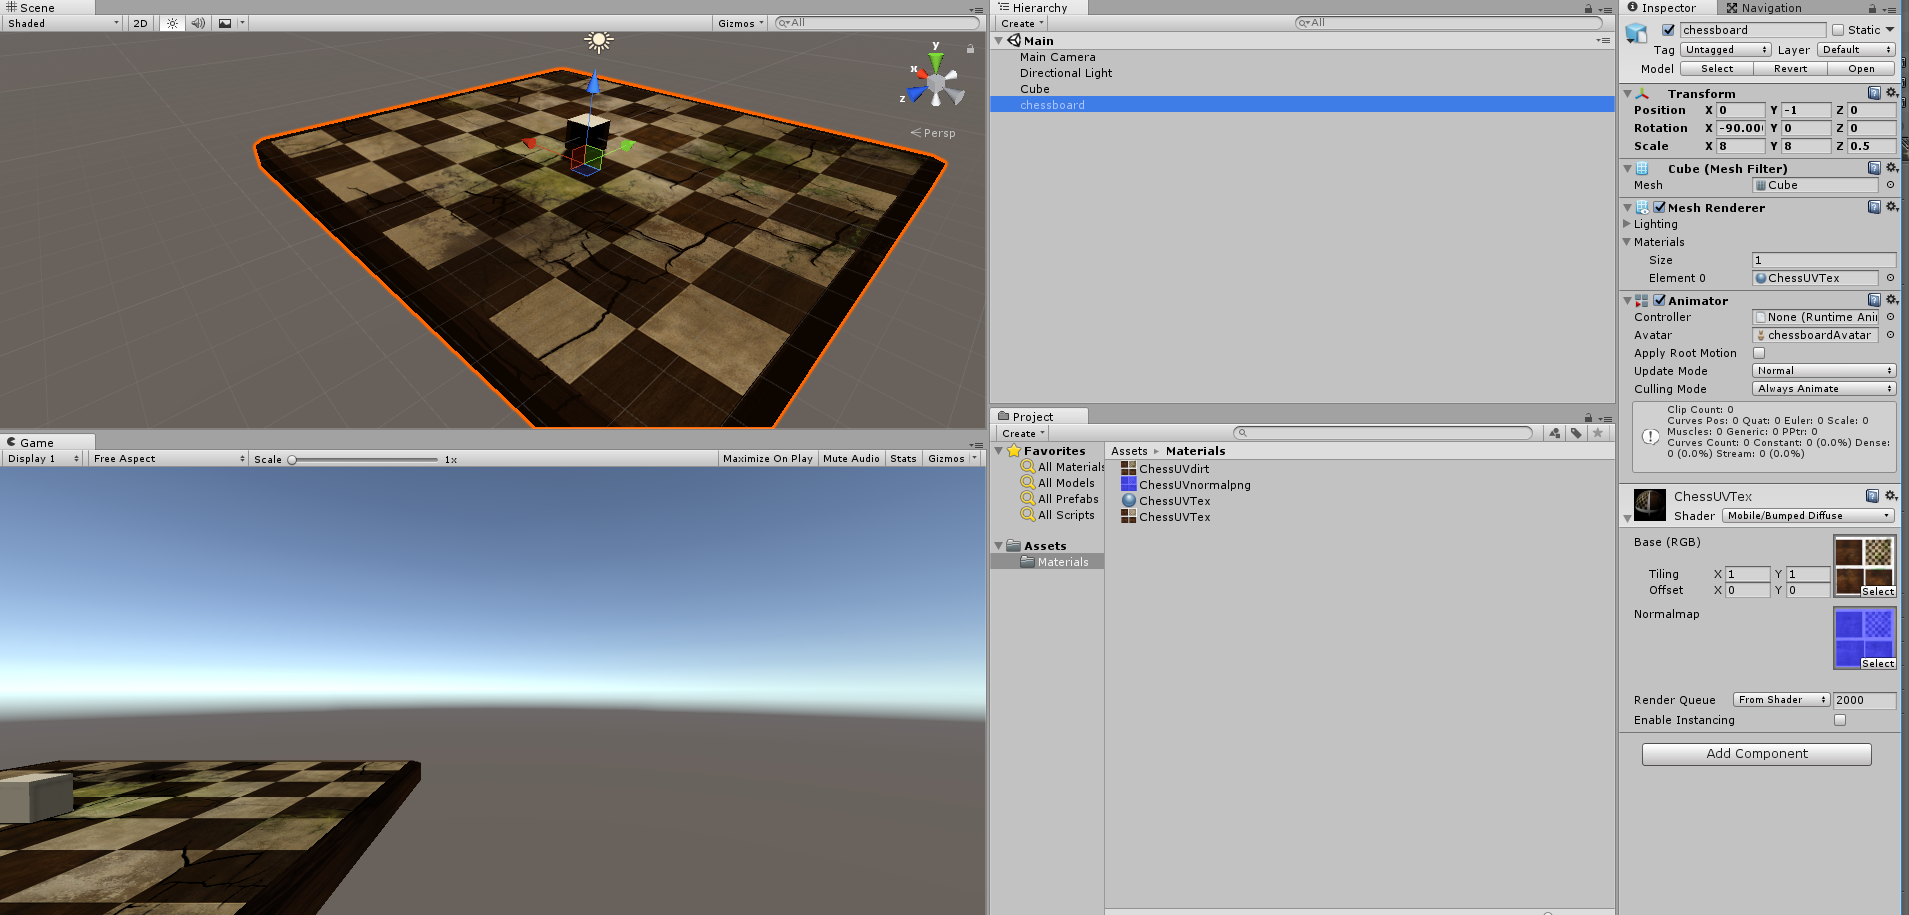
You now have a textured model in Unity.
